Leak symptoms and repair paths
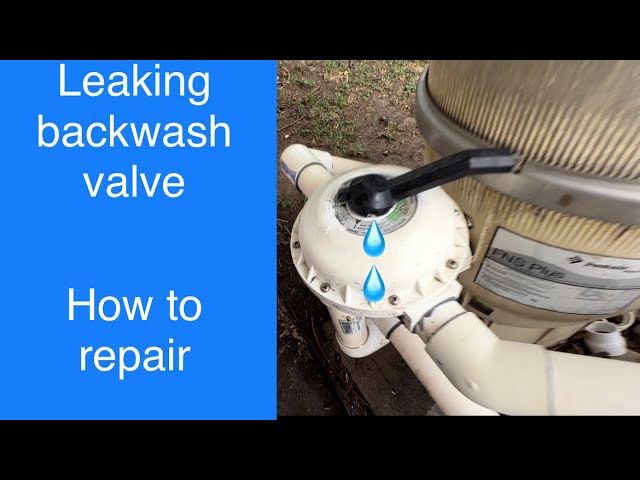
A leaking backwash valve often appears in sand, cartridge, or DE pool filters. It creates different symptoms than a crack in the filter housing itself. Water escapes around the valve stem or ports. This drops system pressure and allows air to enter the lines. Choosing the right fix protects the pump from running dry. It keeps circulation steady across the entire pool. Homeowners face three main paths. These include a simple O-ring swap, a rebuild kit, or complete valve replacement. Each path carries its own cost, time demand, and chance the leak returns later. The decision usually hinges on how many seasons the filter has already run. It also depends on whether the rest of the valve body still looks solid. For instance, if your pool filter keeps leaking after every backwash cycle. The diverter inside the valve may have developed scoring. An O-ring alone cannot seal properly.
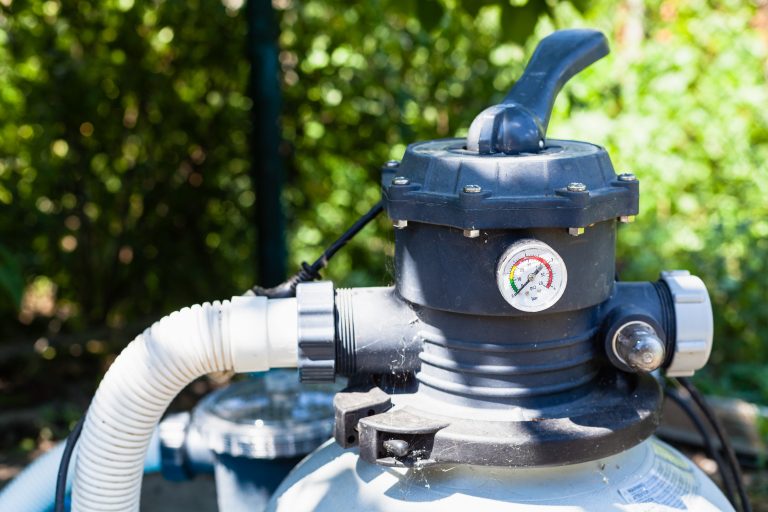
Most pool owners first notice the problem when the filter pressure gauge reads lower than normal after backwashing. A worn seal inside the backwash valve lets water seep past the diverter. It drips onto the ground or equipment pad. That same leak pulls air into the suction side. This shows up as bubbles in the return jets. Fixing the valve early prevents the pump motor from overheating. It extends the life of the entire circulation system. In most systems the backwash valve sits on top of the filter tank. Access stays straightforward without draining the whole pool. An air leak in pool filter system like this can also cause the pump to lose prime overnight. It leads to frustrating restarts each morning.
Leaking Backwash Valve: Recognizing Early Warning Signs
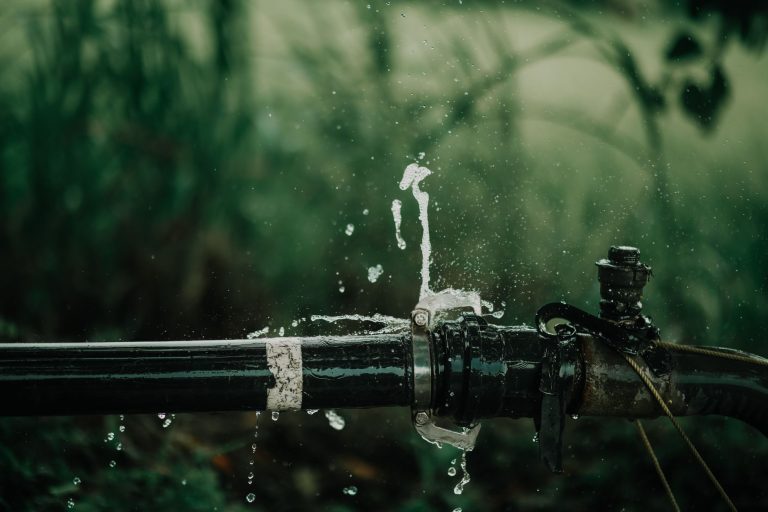
Watch for small puddles forming under the valve after the pump shuts off. Watch for unusual sputtering from the returns. These clues often appear weeks before pressure drops become dramatic. Addressing a leaking backwash valve at the first drip saves hundreds in potential pump repairs later.
Weighing the Options
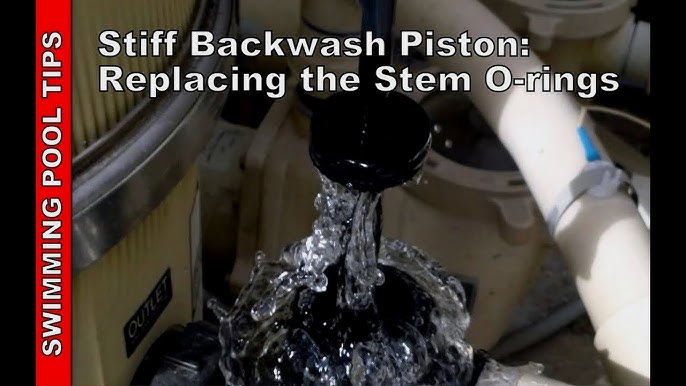
DIY O-ring replacement solves a leaking backwash valve. A full rebuild kit solves a leaking backwash valve. Swapping the entire valve solves a leaking backwash valve. Yet they differ sharply in upfront cost and long-term reliability. The table below lists typical ranges drawn from current parts suppliers and service data. Labor hours assume an average homeowner working at a comfortable pace on a residential filter.
| Repair Method | Initial Cost | Labor Hours | Expected Lifespan | Leak Recurrence Risk |
|---|---|---|---|---|
| DIY O-ring swap | $15–$35 | 0.5–1 | 1–2 seasons | High if grooves are worn |
| Rebuild kit | $45–$85 | 1–2 | 3–5 seasons | Medium when installed correctly |
| Full valve replacement | $120–$220 | 2–3 | 8–12 seasons | Low with new body and seals |
Cost figures cover only the valve parts themselves. They do not include tools already owned by most pool owners. Labor time increases when corrosion has frozen the old valve onto the tank threads. A rebuild kit usually includes new seals, a diverter piston, and sometimes a handle assembly. This explains the jump in parts price over a lone O-ring. Full replacement becomes attractive once the original valve body shows cracks. It also becomes attractive once the internal bore has eroded. In each case the choice also depends on how often the pool runs. Heavy summer use shortens the life of any repair that leaves old metal in place. Practical tip: soak rusted threads overnight with penetrating oil before attempting removal to avoid damaging the filter tank neck. A closely related walkthrough, Five Frequent Reasons an Air Leak in Pool Filter Occurs, picks up where this section ends.
Pool owners who track maintenance records often find that valves on filters older than seven years respond best to full replacement. Newer filters still under warranty may qualify for a manufacturer-supplied rebuild kit at reduced cost. Checking the model number stamped on the valve body before ordering parts prevents mismatches. These mismatches waste both time and money. After any repair, running the system for fifteen minutes confirms the leaking backwash valve has been addressed. Rechecking the gauge confirms the leaking backwash valve has been addressed. Replacing the valve on an older sand filter commonly eliminates recurring air bubbles. These bubbles have plagued the returns for multiple seasons. This pairs well with Diagnosing Every Type of Leak in Pool Filter Systems, which works through concrete examples.
Choosing Based on Filter Age and Usage
Filters used year-round in warm climates wear valves faster than seasonal setups. Track your pump runtime hours to decide whether a quick O-ring fix makes sense. Track your pump runtime hours to decide if investing in a complete new valve pays off sooner. This pairs well with Repairing Pool Pumps That Leak at Multiple Points, which works through concrete examples.
The Good and the Bad
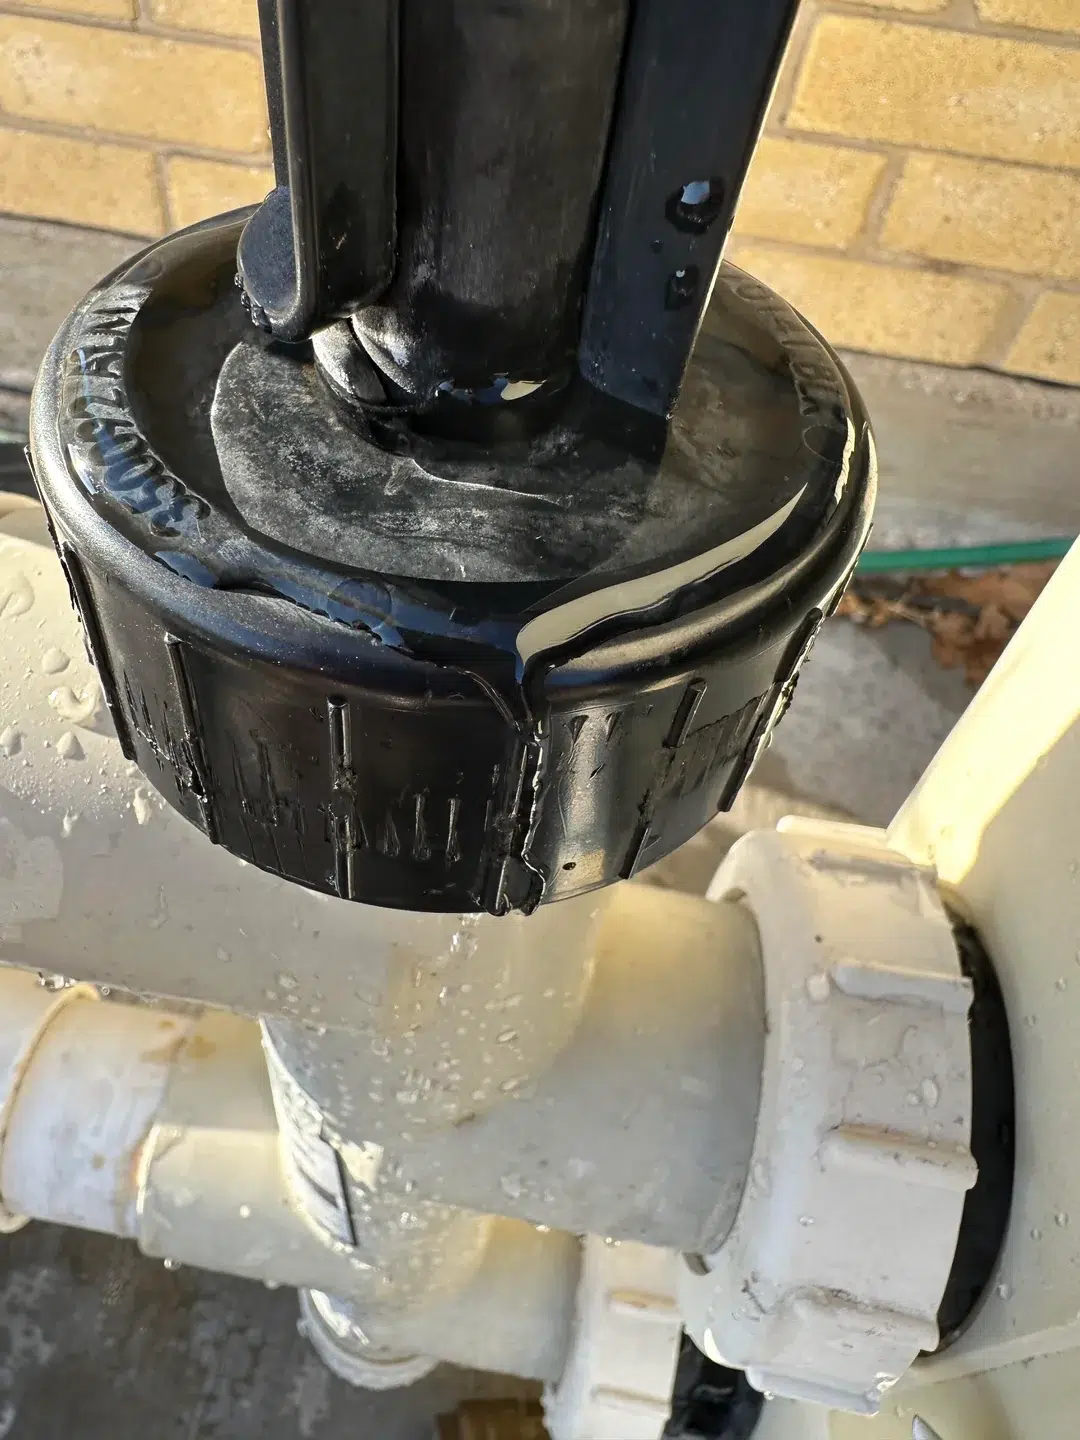
Each approach to stopping a leaking backwash valve carries clear advantages. Each approach carries clear trade-offs that show up in daily operation. The table below summarizes the main points homeowners weigh before starting work.
| Method | Advantages | Disadvantages |
|---|---|---|
| DIY O-ring swap | Lowest cost, quickest job, uses basic hand tools | Short life, high chance leak returns if seat is scored, limited to minor surface wear |
| Rebuild kit | Restores most moving parts, good balance of price and durability, keeps original plumbing connections | Still leaves older body metal that may corrode later, requires careful cleaning of grooves |
| Full valve replacement | New body and seals give longest service interval, lowest future leak risk, restores full flow capacity | Highest parts cost, more time to align and glue new unions, may require cutting pipe on older installs |
Homeowners who swim only on weekends often choose the rebuild kit. It restores reliable performance without the expense of a new valve. Daily swimmers or those with large pools lean toward full replacement. This choice makes the next service interval land years away. A leaking backwash valve fixed with only an O-ring can still drip after one season. This happens if the piston has developed flat spots. In contrast, a new valve assembly usually carries a manufacturer warranty. The warranty covers defects for several years. Weighing these factors against the pool’s actual usage pattern leads to the most cost-effective outcome. Users who swim daily often notice steadier pressure readings after switching to full replacement. This is especially true during peak usage periods.
Long-Term Maintenance Considerations
After choosing a method, plan to inspect the valve each spring. Lubricate new seals with pool-safe silicone grease to prevent sticking. This extends service life by an extra season or two.
Testing pressure after valve repair
Owners who run their pool three or more months a year usually gain the best value from a full valve replacement. This applies once the original unit shows visible wear. Weekend or seasonal pools can stay ahead with a rebuild kit. This works provided the body threads remain intact. After any repair, always test system pressure at the filter gauge both before and after a full backwash cycle. A steady reading within the manufacturer’s normal range confirms the leaking backwash valve no longer allows air or water to escape. Keep a spare set of O-rings on hand for quick future adjustments. Schedule a visual inspection of the valve each spring before the heavy swimming season begins. This simple habit prevents small drips from turning into larger circulation problems later. Additional tip: label your replacement parts with the install date so you know exactly when the next service window approaches.
Finally, remember that an air leak in pool filter system rarely stays isolated. It can pull debris into the lines and stress the pump impeller over time. Consistent monitoring after the fix ensures your pool water stays crystal clear without unexpected equipment failures.
Further Reading
- Seven Locations Where Pool Filters Typically Leak Water
- Repairing a Crack in Pool Filter Housing
- Balancing Pool Pump Pressure After Adding New Equipment
- Checking and Replacing Worn Pool Pump Seals for Better Flow
- How Dirty Filters Lead to Low Pressure and What to Do