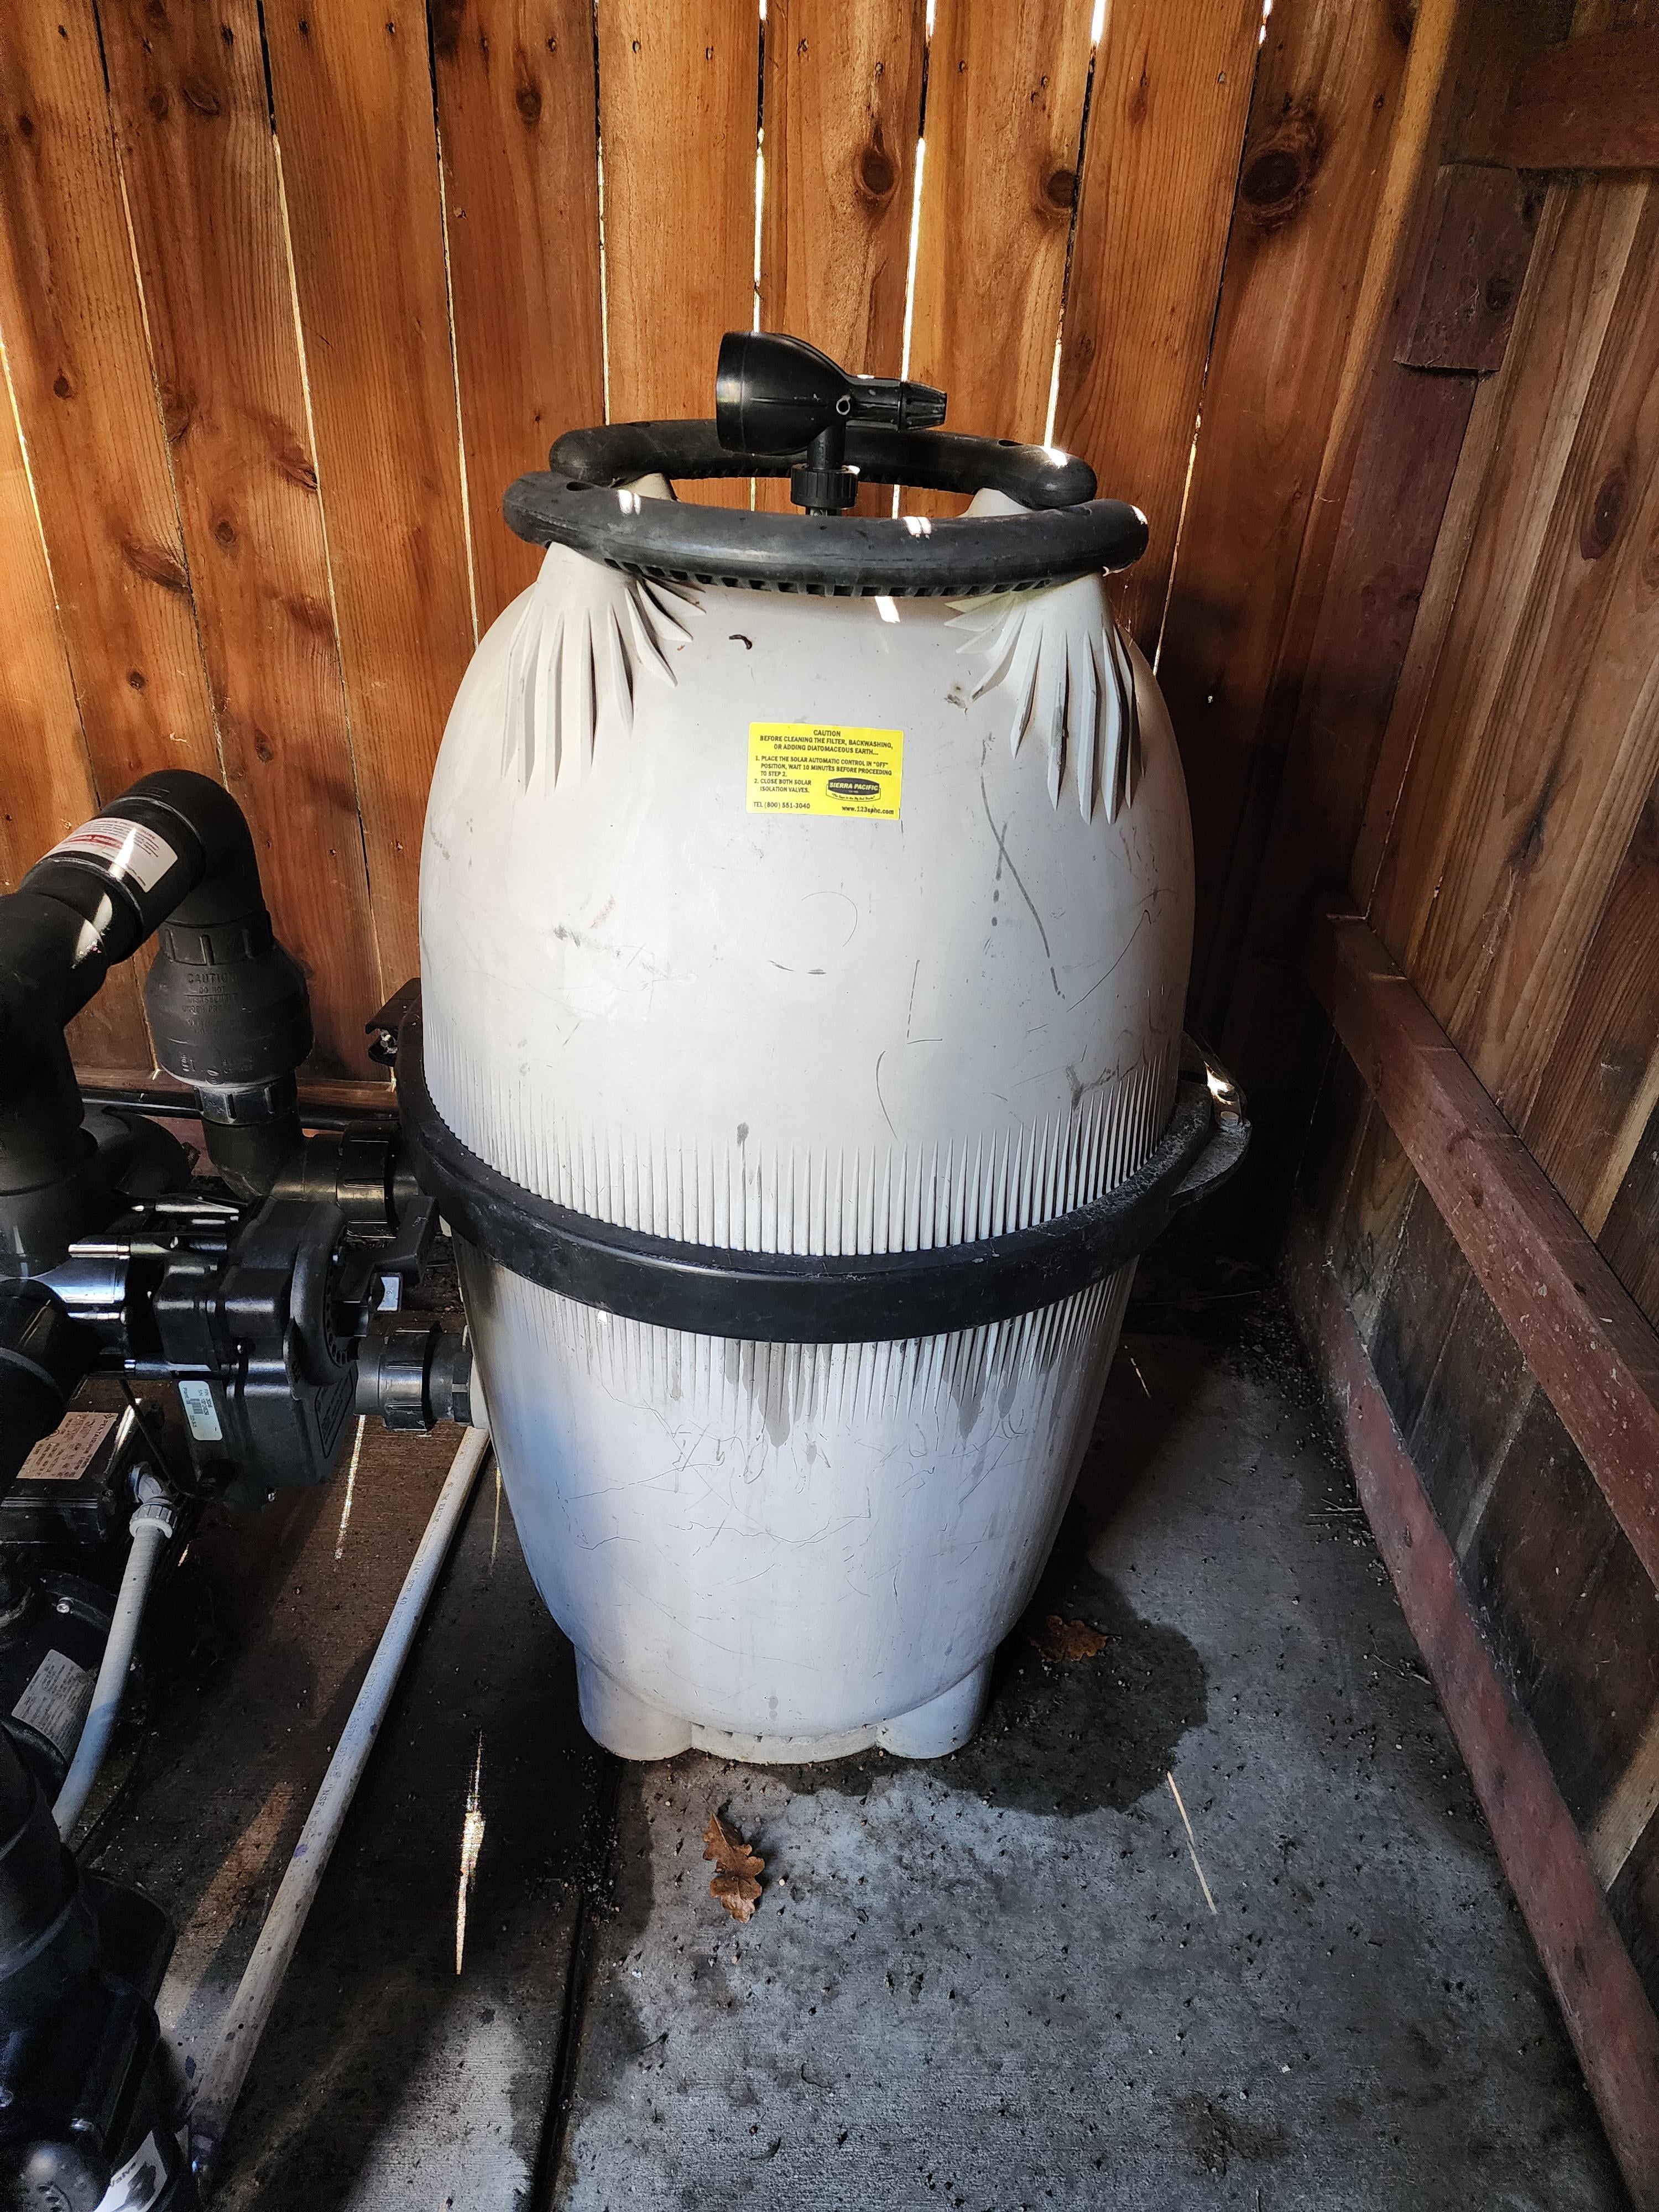
Initial leak diagnosis steps
Pool owners across the United States often discover water escaping from different sections of their filter assembly. Leaks can start small yet quickly lead to bigger issues like equipment damage or wasted water. The phrase pool filter housing leaking describes one of the most frequent complaints. Early detection protects the entire circulation system and keeps maintenance costs lower over time.
Sand filters, cartridge models, and DE units each present their own leak patterns. Knowing where to look first saves hours of guesswork. Checking pressure readings, inspecting visible joints, and listening for unusual drips form the basic first steps in diagnosing pool filter housing leaking.
For instance, a pressure spike from a clogged return line often stresses housing seams. It produces a steady drip from the sand filter. In colder climates, seasonal freeze-thaw cycles can make even minor condensation points turn into active leaks. This happens once the pump restarts in spring.
Another common pattern occurs when a faint hissing sound near the filter is ignored for weeks. A tiny housing seam crack widens enough to lose a significant volume of water overnight during heavy rain.
Pool filter housing leaking shows up most often after a season of heavy use or right after a filter cleaning cycle. A direct answer is that the majority of cases trace back to worn gaskets, cracked housings, loose connections, or failed valve seals. Systematic inspection of each component usually reveals the source within the first thirty minutes of checking.
Adding a simple moisture sensor near the base of the tank can alert you to slow leaks before they flood the equipment pad. Many pool service pros recommend logging weekly pressure readings to spot gradual changes that signal an impending gasket or o-ring failure. Homeowners who keep a small notebook or phone app for these readings often catch problems two or three weeks earlier than those who rely on visual checks alone.
In addition, placing a white towel under the filter overnight can highlight even the slowest drips that might otherwise go unnoticed during daylight hours.
Where filter housings leak
Housing Cracks and Material Fatigue
Plastic filter tanks expand and contract with temperature changes and pressure spikes. Over several seasons hairline cracks form near the top or bottom seams. When pool filter housing leaking occurs from these cracks, water usually drips steadily even when the pump is off. Owners can shine a flashlight along the tank surface during daylight to spot moisture trails. Related guides cover repair options for a leaking backwash valve, a Hayward sand filter leaking from the top, air leaks in a pool filter and the other places a pool filter can leak.
Repeated instances of pool filter housing leaking often trace to daytime temperature swings that stress the material over time.
Inspection starts with the pump turned off and pressure released. Run a dry cloth around every seam and wait five minutes to see if new moisture appears. If the tank shows any crazing or discoloration around the crack, replacement is safer than attempting a patch. Manufacturers warn that structural repairs rarely hold under normal operating pressure. Practical tip: photograph the tank from multiple angles before disassembly so you can match replacement parts exactly. Always wear eye protection when working around pressurized plastic components that might suddenly release stored energy. Some technicians also suggest applying a thin layer of food-grade silicone sealant around the exterior of small, non-structural hairline cracks as a temporary measure while waiting for parts to arrive.
Leaks at the tank seam and clamp band
When a pool filter leaks at the seam, look at how its tank is built. Many cartridge and DE filters, and some sand filters, are made of two tank halves held together by a clamp band, and the joint between them is sealed by a large tank o-ring. A leak at the seam is therefore usually that o-ring or the clamp rather than the tank itself. Water that weeps or sprays around the middle of the filter only while the pump runs points to this joint, because the seal is under pressure then.
To fix it, turn the pump off and open the air relief valve until the gauge reads zero before you touch the clamp. Remove the clamp and the top half, take out the tank o-ring and wipe the groove free of debris, sand and old lubricant. Replace the o-ring if it is flattened, cracked or stretched so that it no longer sits in its groove, using the part listed for your filter model. Coat it lightly with a silicone-based pool lubricant, seat it evenly, refit the top half and tighten the clamp the way your filter’s manual describes.
A leak that continues with a new o-ring usually means the tank lip is cracked or warped, or the clamp itself is bent or corroded. Do not try to stop it by over-tightening. A filter whose clamp is damaged or not seated correctly can separate under pressure with enough force to cause serious injury, so replace a corroded or deformed clamp rather than reusing it, and stand clear of the filter when you restart the pump.
Valve Seal Failures in Multiport Units
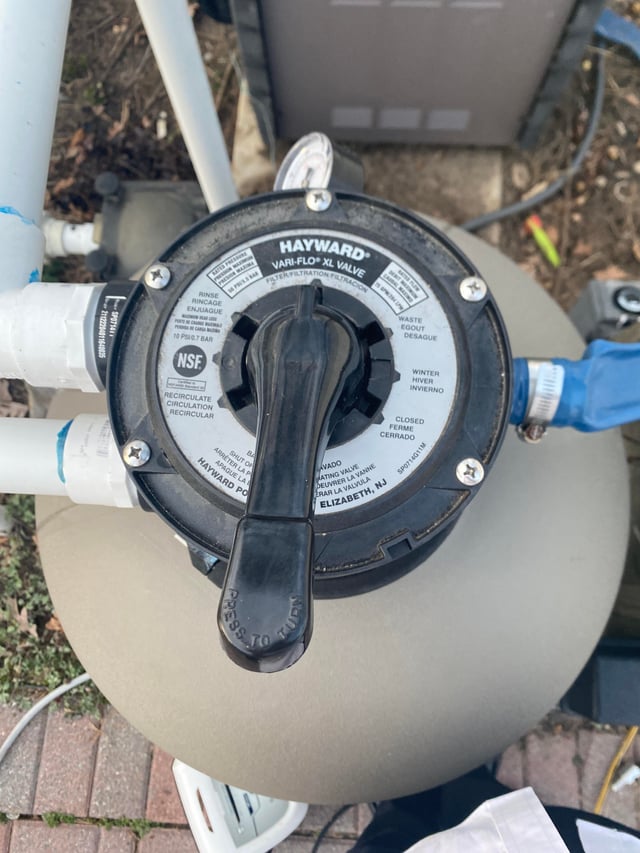
Multiport valves sit directly on top of many sand and DE filters. The internal spider gasket or o-rings wear from repeated turning between filter, backwash, and rinse positions. When these seals degrade, pool filter housing leaking appears at the valve-tank junction or from the waste port even in the filter setting. A telltale sign is water on the ground only after the valve handle has been moved recently. This issue appears more frequently in areas with high mineral content in well water because minerals accelerate gasket breakdown. Noticing sand in the skimmer after backwashing often reveals that the spider gasket has torn and allowed media to escape through the valve body. Hard water minerals commonly create a gritty film that speeds up o-ring abrasion every time the handle turns.
Testing involves running the pump in each valve position for two minutes while watching for new drips. If leaks appear only in backwash or rinse, the spider gasket needs replacement. Parts kits cost between forty and eighty dollars and take about an hour to install with basic hand tools. Always shut off power and relieve pressure before removing the valve cover. A helpful habit is to lubricate the valve o-rings lightly with pool-safe silicone grease every six months. This extends seal life and reduces the friction that causes premature tearing during seasonal position changes. Many owners also mark the valve handle with colored tape so they can quickly see whether it has shifted accidentally during routine maintenance.
Connection Thread Issues and O-Ring Wear
Threaded unions and bulkhead fittings connect the filter to the pump and return lines. Teflon tape or o-rings at these points compress over time and lose their seal. When pool filter housing leaking from bottom connections occurs it often points to a failed o-ring rather than a tank crack. In cartridge filters the bottom drain plug is another frequent culprit because sediment collects there and prevents a tight seal. A practical check is to mark each union with a pen line, then run the system and look for movement at the mark. Many leaks at these points also involve the pool filter gasket leaking around the union collar when the original factory o-ring has flattened or absorbed pool chemicals. Seasonal temperature changes can also cause the plastic threads to expand and contract. This loosens the seal even when the o-ring itself remains intact.
Re-seating the union after cleaning the threads and applying fresh tape solves many cases. Replacement o-rings for common 1.5-inch and 2-inch fittings remain inexpensive and widely stocked at pool supply stores. Persistent leaks after reassembly usually mean the plastic threads themselves have deformed and require a new fitting or short pipe section. Pro tip: always use two wrenches when tightening unions. One holds the fitting steady and one turns. This avoids stressing the filter tank threads and creating new leak paths. It also helps to replace the Teflon tape completely rather than adding layers on top of old tape. This can create uneven pressure points.
Sand and Media Escape Through Leaks
Sand filters sometimes push media out through small openings created by a cracked laterals or a damaged manifold. When pool filter housing leaking coincides with sand appearing in the pool or in the pump basket, the internal distribution system has failed. DE filters can exhibit similar symptoms if the grid fabric tears. The first visible clue is usually cloudy water combined with a sudden drop in filter pressure. In high-wind desert regions, dust storms can introduce extra debris that abrades the laterals over time. A single cracked lateral can allow a large portion of the sand bed to escape into the pool over a short period.
Owners should shut down the system and remove the top to inspect laterals or grids. Broken pieces must be replaced before adding new media. Running the filter with damaged internals only worsens the leak and can send sand into the heater or cleaner lines. Professional service is recommended once media begins escaping because full disassembly is often required. Before refilling, rinse new sand thoroughly outside the tank to remove fine particles that could otherwise migrate through any remaining micro-leaks. Keeping a spare set of laterals on hand for common filter models can reduce downtime when this type of failure occurs.
Pool Filter Gasket Leaking at Critical Joints
Another common source of trouble involves the pool filter gasket leaking where the tank lid meets the body or around the pressure gauge port. These flat or donut-style gaskets harden from chlorine exposure and lose compression. Water seeps during operation. A quick test is to place a sheet of paper towel around the lid seam. Run the pump for five minutes and check for damp spots that reveal the exact leak location. Over time, repeated opening and closing of the lid during cleanings can also warp the gasket seating surface. This makes even new gaskets less effective unless the surface is lightly sanded smooth first.
Addressing Pool Filter Leaking from Bottom
When the issue is specifically pool filter leaking from bottom, focus first on the drain plug, base o-ring, and any standpipe connection inside the tank. Sediment buildup around the drain often prevents a complete seal. A cracked base can allow water to escape even with the plug tightly installed. Replacing the drain plug gasket and cleaning the threads with a soft brush usually resolves bottom leaks without full tank replacement. In severe cases where the base itself has hairline fractures, some owners opt for a complete filter upgrade rather than attempting to source obsolete base components. Always check the standpipe O-ring at the same time. A worn seal here can mimic a bottom housing leak exactly.
Worth Remembering
- Start every diagnosis by confirming whether pool filter housing leaking stops when the pump is off.
- Check the multiport valve seals first because they are the easiest component to access and replace.
- Inspect all threaded connections for o-ring damage before assuming the tank itself is cracked.
- Look for escaping sand or DE only after ruling out external leaks around the housing.
- Schedule a professional inspection once leaks continue after basic gasket and o-ring swaps.
- Keep a spare set of common o-rings and Teflon tape on hand so minor leaks can be fixed the same day they appear.
- Document each repair with date, part replaced, and pressure reading to spot recurring patterns over multiple seasons.
- Consider installing a clear sight glass on the waste line to confirm backwash flow without opening the valve each time.
- Never ignore a slow drip near electrical components, as moisture can create safety hazards over time.
Identifying leaks by joint inspection
Consistent observation of every joint, valve, and housing surface prevents small drips from becoming expensive repairs. Pool filter housing leaking rarely fixes itself and usually signals a single failed part rather than total system failure. When basic troubleshooting does not stop the water loss, contact a licensed technician who can pressure-test the entire assembly. Regular seasonal inspections keep most residential systems running cleanly for ten years or longer. Many pool owners also find that investing in a clear-lid filter model makes future visual inspections faster and more accurate. This reduces the chance that a hidden leak goes unnoticed until it causes major water loss or equipment corrosion. Keeping a basic leak-detection kit that includes dye tablets, spare gaskets, and a small mirror for hard-to-see areas can turn a stressful situation into a straightforward thirty-minute fix for most homeowners.
Further Reading
- Comparing Repair Options for Leaking Pool Filter Valves
- Seven Locations Where Pool Filters Typically Leak Water
- Repairing a Crack in Pool Filter Housing
- Pool Filter Troubleshooting For Models From Pentair And Hayward
- Sand Filters Against DE Models In Leak And Flow Scenarios