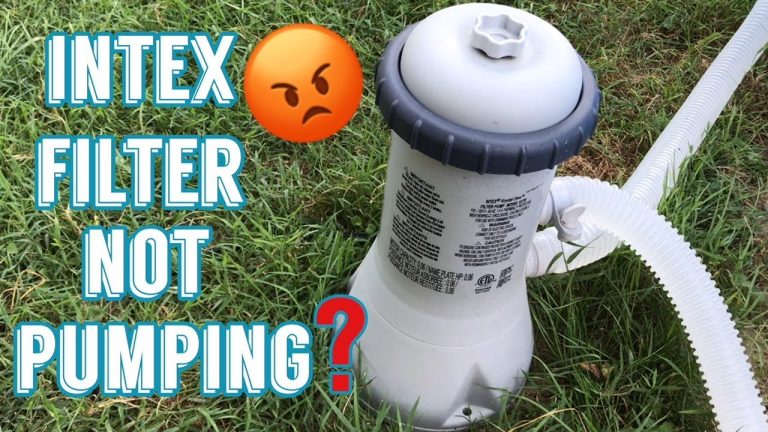
Common Sand Filter Leak Sites Reported by Owners
Pool owners searching for solutions to a hayward sand filter leaking from bottom often discover the issue. It stems from one of four predictable spots on their equipment. Sand filters from Hayward, Pentair, and Intex share similar construction. Yet age, winter storage, and daily pressure cycles create weak points. These allow water to escape. These leaks reduce filtration efficiency. They can damage surrounding decking or equipment pads.
Understanding the exact location helps owners order the correct parts. It avoids unnecessary full-tank replacements. A sand filter works by trapping debris in a bed of media. Water flows through laterals at the base. Any breach below the water line shows up quickly as drips or puddles.
In many cases, homeowners notice the problem during routine weekly checks. They spot small puddles forming under the filter housing after the pump cycles off. This happens especially on hot summer days when the system runs longer hours.
The four common locations are the bottom drain assembly, the multiport valve base, the upper tank seam, and the internal lateral grid. Matching the visible drip to one of these spots narrows the repair. It takes a few hours and a modest parts cost in most cases. In many cases, tracing a persistent wet spot back to a cracked bulkhead helps owners. This occurs after several seasons of heavy use. It allows them to save by replacing just the seal rather than the whole unit.
Before diving into repairs, always verify your filter model number. Consult the manufacturer manual for torque specifications on fittings. This step prevents overtightening that could crack plastic components. It creates new pinhole leak in sand filter issues down the road. Early detection also stops a hayward sand filter leaking from bottom from becoming a bigger problem.
The Four Most Common Leak Sites on Sand Filters
Bottom Drain Assembly and Hayward Sand Filter Leaking From Bottom
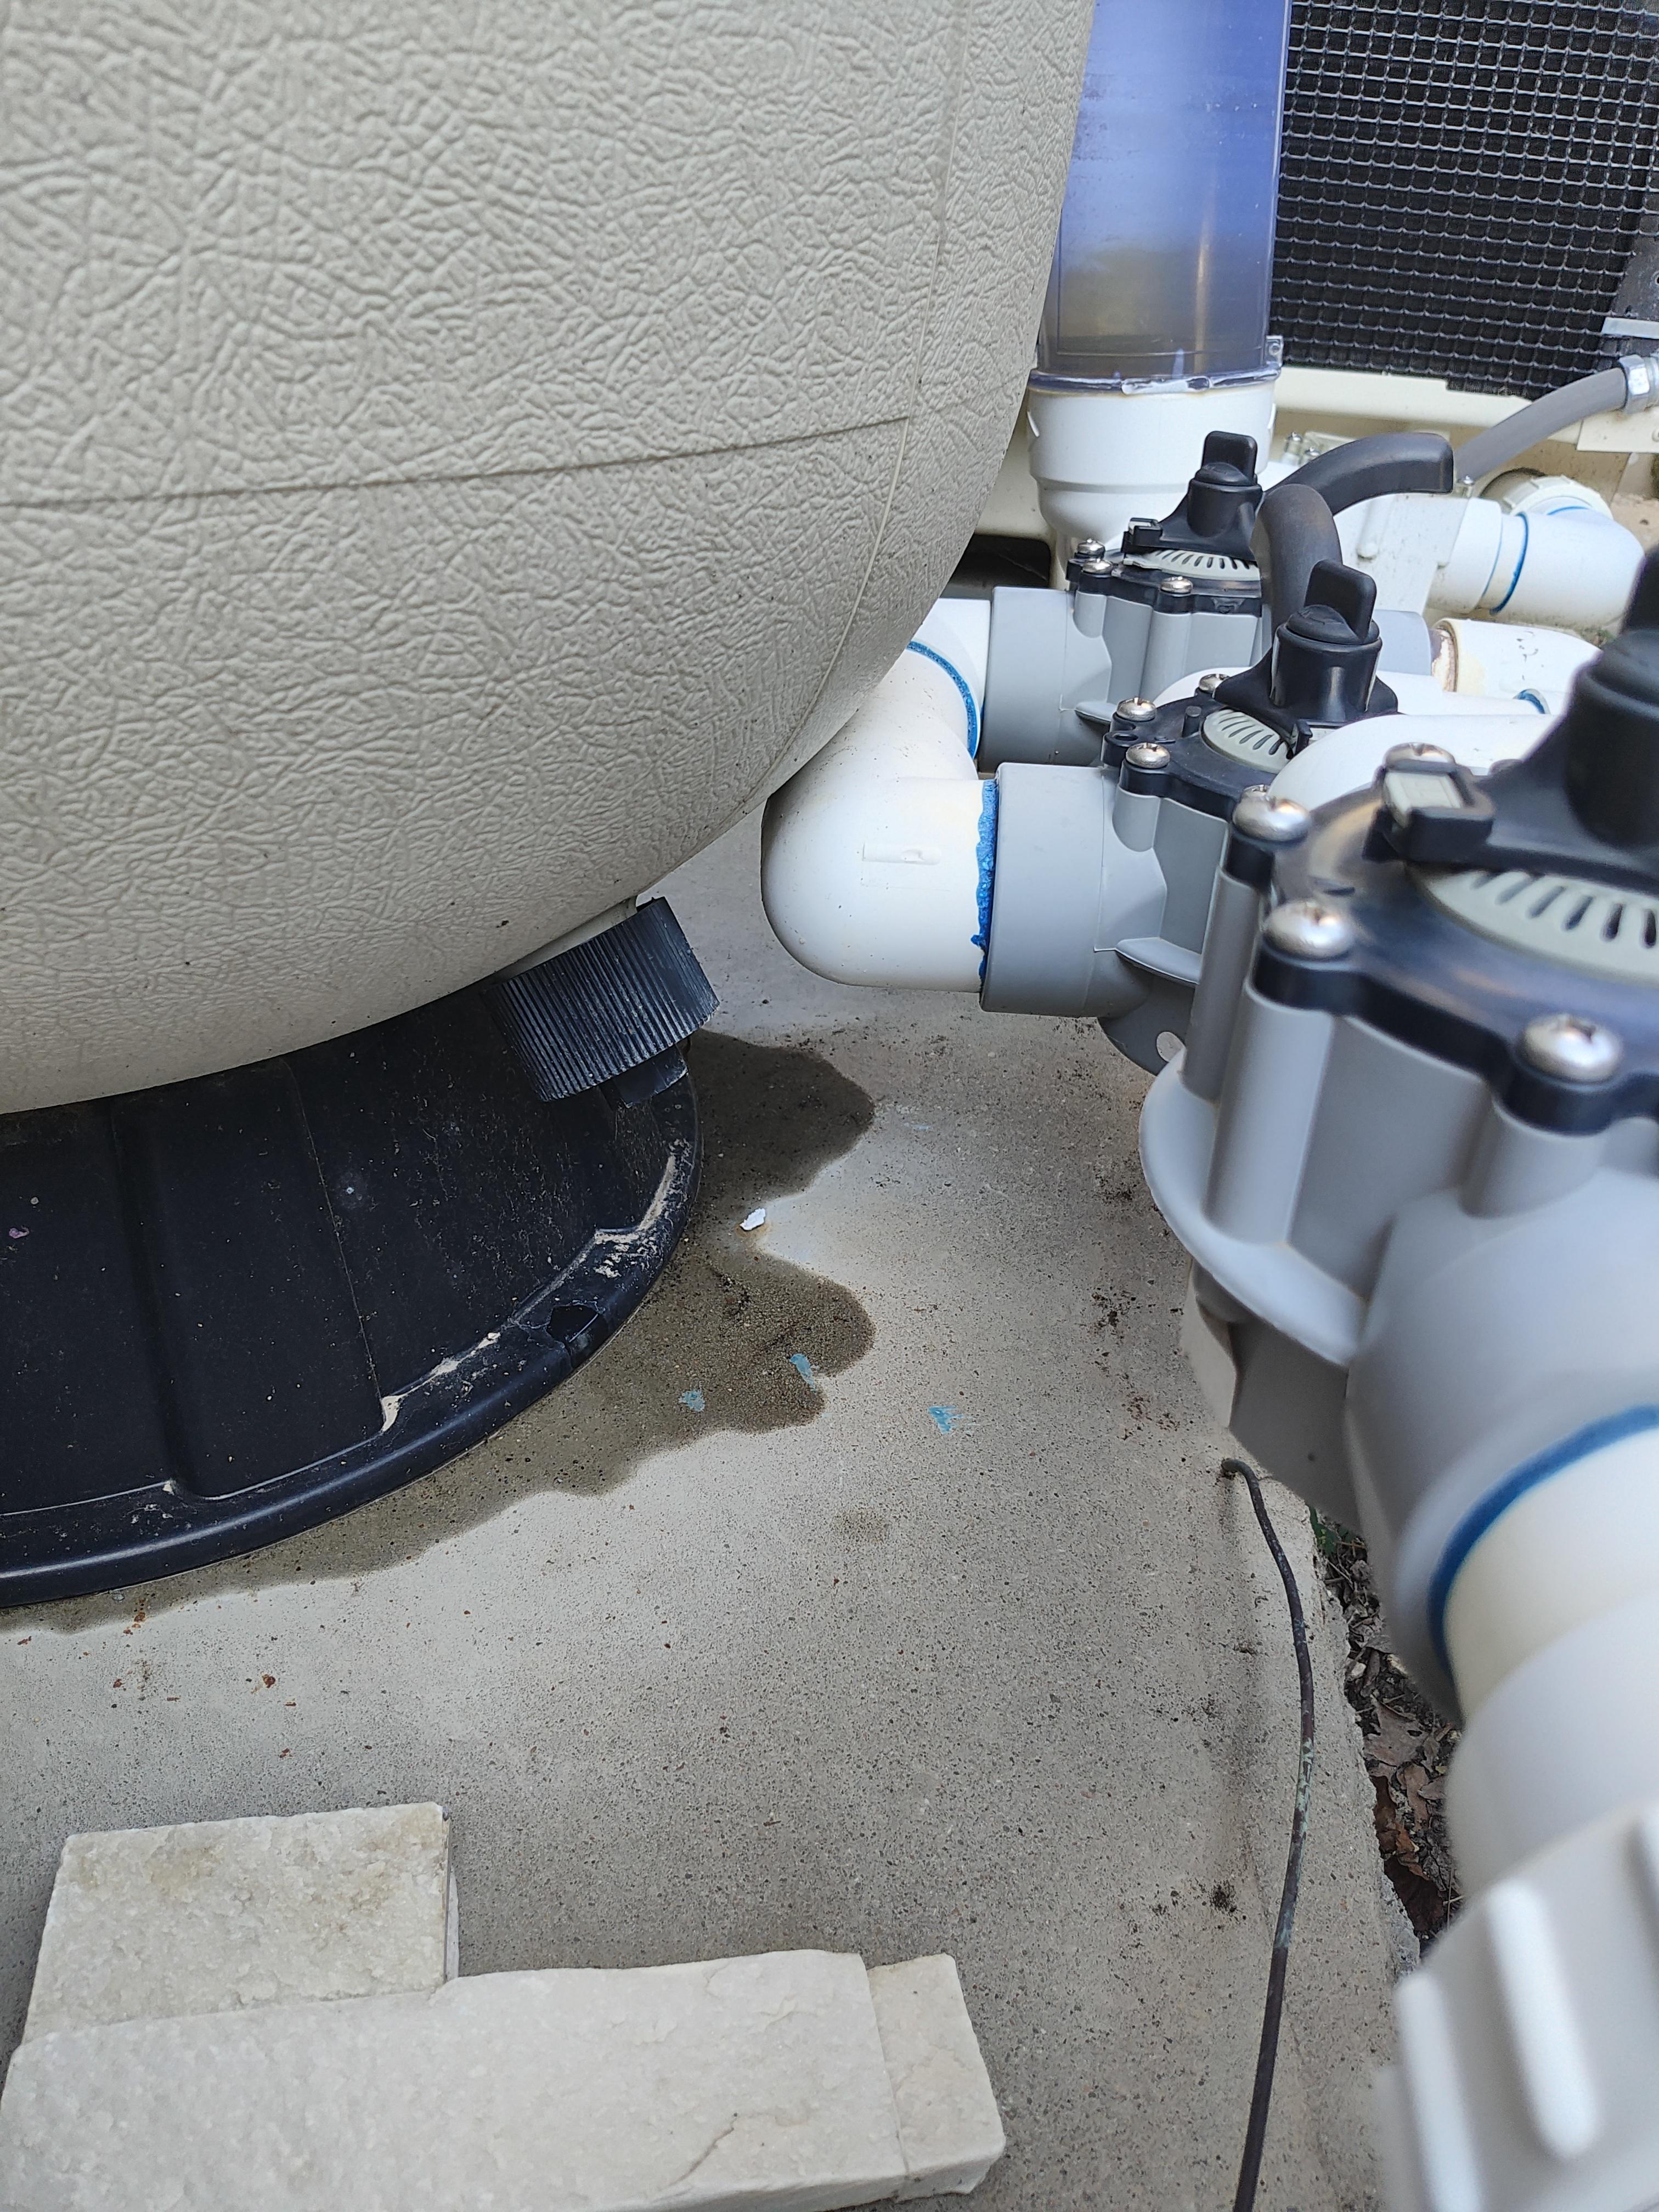
The bottom drain assembly sits at the lowest point of the tank. It connects the filter to the return plumbing. On older Hayward models such as the S244S or Pro Series tanks, the threaded bulkhead or its O-ring compresses over time. It begins to seep. A hayward sand filter leaking from bottom usually appears after the unit sits overnight. Pressure drops and the weakened seal relaxes.
Owners can confirm the spot by drying the area. They run the pump for ten minutes. Fresh moisture at the base confirms the source. Replacement involves shutting off power, relieving pressure, unscrewing the bulkhead, and installing a new gasket. The gasket is rated for the same pipe size. The job takes roughly thirty minutes once the tank is empty. A closely related walkthrough, Five Sources for My Sand Filter Is Leaking from the Top, picks up where this section ends.
If the tank wall itself has a pinhole leak around the fitting, the entire vessel may need replacement. It needs more than just the seal. Practical tip: Apply a thin layer of silicone lubricant to the new O-ring during reinstallation. This ensures a watertight fit. It extends its lifespan by a year or more.
Multiport Valve Base
The multiport valve bolts to the top or side of the tank. It routes water during filter, backwash, and rinse cycles. Gaskets between the valve and tank flange compress unevenly after repeated winter storage. They also compress after high-pressure spikes above 30 psi. When this joint fails, water escapes around the bolts or the valve collar. A closely related walkthrough, Pool Filter Leaking from Top and Other Points Reveal Issues, picks up where this section ends.
Pentair sand filter leaking from top often traces to the same gasket set. Above ground pool sand filter leaking follows an identical pattern on smaller Intex units. Checking requires removing the valve clamp. It requires inspecting the rubber seal for cracks. It requires replacing it with the manufacturer kit. The repair restores full flow. It prevents the hayward sand filter leaking from bottom symptom from being misdiagnosed. The drip actually travels down the tank exterior. The follow-up piece When Flow Drops Hayward Above Ground Pool Filter Troubleshooting Sand… covers this in more practical detail.
Owners who replace the gasket on an Intex system often eliminate what looks like a bottom leak. They do this after a brief inspection. Always shut off the pump and release pressure before loosening clamps. This avoids sudden water spray.
Tank Seam Near the Top
Two-piece tanks joined at a horizontal seam develop leaks after five to seven seasons. This occurs from UV exposure and freeze-thaw cycles. The seam sits above the sand bed yet below the water level during operation. Even a small gap produces steady drips once the pump stops. Hayward and Pentair tanks use a factory-applied adhesive. It hardens and cracks. Owners notice the issue first as a damp ring around the middle of the vessel.
Repair usually means draining the filter, cleaning the seam, and applying a compatible epoxy. The epoxy is rated for fiberglass or thermoplastic. If the crack exceeds two inches, replacement of the tank remains the safer choice. Pressure cycles will reopen the repair. This location rarely causes the classic hayward sand filter leaking from bottom pattern. Yet water running down the exterior can create that appearance. This lasts until the seam is dried and observed directly.
Many owners add a UV-resistant cover over the tank during off-season storage. This slows adhesive degradation. It delays seam failures.
Lateral Grid Inside the Tank
The lateral grid consists of slotted pipes at the bottom of the tank. They collect filtered water. A broken lateral allows sand to migrate into the return line. It also creates an internal leak path. The path exits through the drain bulkhead. When laterals crack, owners often report both cloudy water and a hayward sand filter leaking from bottom after backwash.
Diagnosis requires removing the multiport valve. It requires inspecting the grid with a flashlight. Broken slots or loose laterals are visible once the sand level drops. Replacement involves lifting out the old grid. It involves installing a new one sized for the tank diameter. It involves refilling with fresh media. The process takes one to two hours. It costs far less than a new filter when the tank shell remains sound.
Owners commonly notice sand appearing in the skimmer. Inspection often reveals a fractured lateral. It had gone unnoticed for some time.
Key Points to Check First
- Bottom drain assembly: Dry the base completely, run the pump briefly, and look for fresh moisture to confirm this common failure point.
- Multiport valve base: Remove the clamp and examine the gasket for compression marks or tears before assuming a tank issue.
- Tank seam near the top: Wipe the midsection dry after shutdown and watch for slow seepage that mimics lower leaks.
- Lateral grid inside the tank: Lower the sand level slightly and use a bright light to spot cracks or loose connections inside the vessel.
Matching the Leak Location to the Right Fix
Once the drip is traced to one of the four sites, owners can order the correct O-ring, gasket, or lateral set. They avoid guessing. A visible puddle at the base points to the drain assembly or a broken lateral. Moisture higher on the tank suggests the seam or valve joint. Addressing the problem early prevents sand loss. It keeps the circulation loop working with existing equipment. Related topics such as pool filter backwash not working or pentair pool filter problems often share the same gasket and seal failure patterns. Regular inspection of pressure readings and seasonal draining reduces the chance of sudden leaks. When the tank shell itself shows multiple cracks, replacement becomes the practical next step. It is better than repeated patchwork. Consider keeping a spare gasket kit on hand for quick seasonal maintenance. This is especially true if your pool runs year-round in milder climates. Spotting issues early avoids another hayward sand filter leaking from bottom during busy months.
Further Reading
- Hayward And Intex Sand Filters Exhibit Distinct Leak Patterns
- Eight Pool Filter Failures Homeowners Encounter Most Often
- Pool Pump Pressure Basics and the Parts That Control Flow Rate
- Intex Pump Models Compared for Resistance to Low Flow Problems
- Sand Versus Cartridge Versus DE Hayward Filters When Flow Drops