Filter Failures That Survive Routine Cleaning Cycles
When a pool loses flow or the water turns hazy, most owners check the pump first. That makes sense, since the pump moves the water. But plenty of pool filter problems have nothing to do with the motor. They sit inside the tank, in the grids, the sand bed, the cartridge pleats, or the seals around the lid. Many survive a good backwash or a hose-down, which is why they keep coming back. Owners who get frustrated fastest are often the ones who keep cleaning the same parts over and over, hoping the next cycle will fix something that was never really dirty in the first place.
Pool filter problems that persist after a pump check usually come from the filter itself. Common causes include torn DE grids, sand channels, cracked cartridge housings, and worn O-rings or lid gaskets. A pressure gauge that stays high after cleaning, or low flow with a clean pump basket, usually points to the media or the housing rather than the motor. A useful test is to note the gauge reading right after a fresh clean and again a week later. If the number climbs quickly even though you have been maintaining the chemistry, the trouble is almost always inside the tank.
The problems covered here fall into a narrow band. They look like pump trouble, yet they start in the filter. Each common filter type fails in its own way. DE systems lose grid integrity. Sand filters lose their bed. Cartridge units crack or leak at the seals. Knowing which type you own narrows the search fast, and it also saves you from buying parts that won’t fit your model. Keep the make, model, and serial plate information handy before you start digging through any parts catalog.
Pool Filter Problems in DE, Sand, and Cartridge Housings
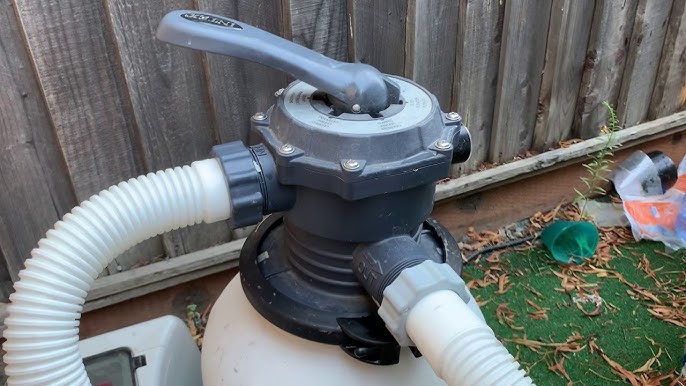
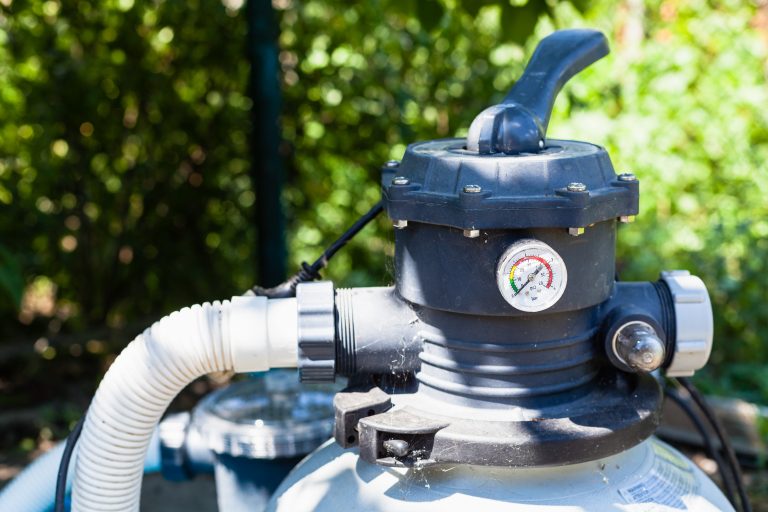
Start by identifying your filter. Sand and DE tanks are usually large cylinders with a multiport valve on top. Cartridge units have a smaller housing with a lid you unscrew by hand. Above-ground combo units sit on the same base as the pump. Knowing which you have decides which of the following sections applies to you. If you are unsure, look at the label on the tank or check the original purchase paperwork, because many owners inherit a pool with an unfamiliar filter and never learn what they have.
Pressure readings are the best early warning for almost any type. Most sand and DE filter manuals suggest cleaning when pressure rises 8 to 10 psi above the clean reading. Watch that number over a few weeks, and you’ll learn what normal looks like for your pool. Write the clean reading on a piece of tape near the gauge. That single habit makes it obvious when something has changed, and it turns a vague feeling that the pool is “not right” into a measurable fact you can act on.
DE Grid and Manifold Failures
A DE filter traps debris on fabric grids coated with diatomaceous earth, a powder made from the fossilized shells of tiny algae. The grids hang from a central manifold, the pipe that routes water to them. Pentair Quad DE filter problems often begin with a torn grid fabric or a cracked manifold seal. When a grid tears, powder and dirt slip through into the return line. You may see fine powder on the pool floor, or cloudiness that appears right after a cleaning. Sometimes the first clue is a faint white film on the tile line or on the skimmer basket after you empty it, a classic pool filter problems sign.
Checking the grids takes about an hour on most models. Shut off the pump, open the tank, and lift the grid assembly carefully. Look for holes, frayed edges, and grids that no longer sit square on the manifold. Rinse them with a hose and hold each one up to a light. A pinhole is easy to miss in daylight, so a bright flashlight pressed against the fabric from behind will show even small breaks. Replacement grids are sold for specific models, so match the part number before you buy. Ordering the wrong size is one of the most common and most annoying mistakes homeowners make with DE filters.
Recoating matters more than most owners expect. After a backwash, add the powder slowly with the pump running, so it coats the grids evenly. Dumping a whole box in at once can clump on one grid and leave the others bare. A slow pour into the skimmer or through the pot, taking several minutes, usually gives a much better result. Pressure should settle back to a clean reading after recoating. If the gauge still climbs fast, the grids need another look, and it is worth writing down the date of each recoat so you can spot a pattern over time.
Sand Channel Formation and Backwash Valve Issues
Sand filters rely on a bed of silica sand, often #20 grade in residential units. Water should pass evenly through the whole bed. When it finds an easier path, it cuts a channel and skips most of the sand. Clumped debris, oils, and calcium buildup all encourage this. Few things speed up channeling faster than algae clogging pool filter media that went untreated for a few weeks. Once that happens, even a perfectly good pump will push water through a narrow tunnel, and the rest of the bed does almost nothing. Pool filter problems like these show up as cloudy returns despite clean media.
The result is familiar. Water comes back cloudy, and pressure drops quickly after cleaning. Many owners blame the pump when the real problem is a bed that has stopped filtering. A channeled bed usually needs a full sand change, and most homeowners replace sand every few years depending on use. A simple check is to run the pump and look at the sight glass or the return flow. Strong, even flow with cloudy water suggests the bed is channeling rather than clogged.
Replacing sand is a bigger job than it sounds. Drain the tank, remove the old media, and inspect the laterals, the slotted pipes under the bed. Clean them before loading fresh sand, because old media in the slots can block flow. Fill to the level your manual gives, then run a short rinse cycle to settle the bed. Plan on an afternoon, and expect the bags to be heavier than you think. Wear gloves and a dust mask, since old sand often carries fine particles and organic residue that you do not want in your lungs.
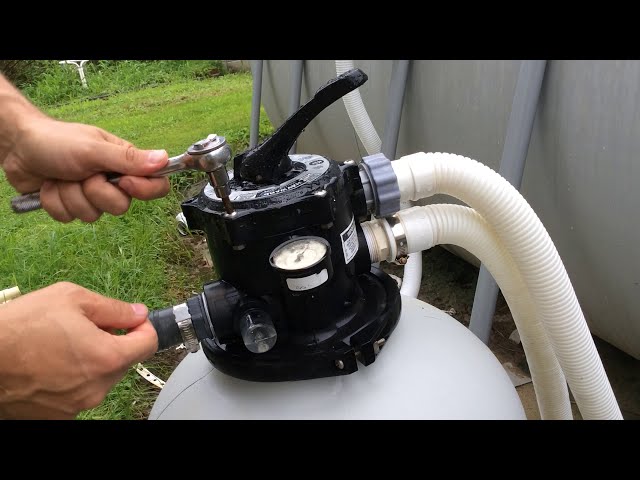
Backwash problems often sit at the multiport valve. A backwash that runs but clears nothing is the classic form of backwash on pool filter not working. Check the handle first. Each position should click into place, and the valve should move smoothly through all of them. A worn valve can leak air or let water bypass the sand, so the gauge never rises. Kinked waste hoses cause trouble too, because water that can’t leave the tank has nowhere to go. Run the backwash with the waste hose in a bucket for a moment and watch the flow. A weak stream usually points to a clog or a kink rather than a bad valve. The usual cause of a hayward sand filter not working is the valve or the waste line, so check those before opening the tank.
Cartridge Housing Cracks and O-Ring Leaks
Cartridge filters use a pleated element inside a plastic or composite housing. The lid seals against the tank with an O-ring, a flexible rubber ring that sits in a groove. Over time the rubber hardens or flattens, and water begins to weep at the lid. A common reference for this type of seal is the Wikipedia article on O-rings, which explains how the ring compresses to block leaks. Sun exposure speeds up this aging, so an outdoor filter in full sun will usually need its O-ring replaced sooner than one tucked under a shade structure. Pool filter problems here often trace to the housing threads or the lid clamp.
Overtightening the lid clamp, or dropping the lid on hard ground, can crack the housing. Cracks often look like hairlines near the threads or the inlet, and they tend to grow. A cracked housing rarely holds, so replacement is the usual fix. A housing that only leaks at the lid is a different story, and it’s often a cheap repair. Before deciding, dry the area around the lid and run the pump briefly. If the wet line appears only at the lid edge, the O-ring is the likely culprit. If water seeps from the body of the tank, the housing itself needs attention.
The O-ring is usually the easy fix. Remove the lid, wipe the groove clean, and inspect the ring for flattening, nicks, or dry spots. Lubricate it with a silicone-based lubricant, since petroleum products can swell and break down rubber. Seat the ring evenly and tighten the lid by hand until snug. Many leaks that look like cracks turn out to be a pinched or dirty O-ring. An air leak in pool filter often traces back to this same lid seal, so check it first. You will often hear a faint hissing or see bubbles in the sight glass, and that is a strong clue that the seal is not holding.
Cleaning habits matter here as well. Rinse the element with a hose, spraying from the inside out if you can, so debris exits rather than packing deeper. For oily buildup, a cartridge cleaner soak is the common approach, followed by a thorough rinse. Let the element dry fully before judging it. Pleats collapse after several seasons. When water flows freely through a clean element but the pressure stays high, the element is probably worn out. Many owners keep a spare element on hand so they can swap in a clean one while the other soaks, which keeps the pool running through the cleaning process.
Above-Ground Pump Housing Leaks on Coleman and Flowclear Models
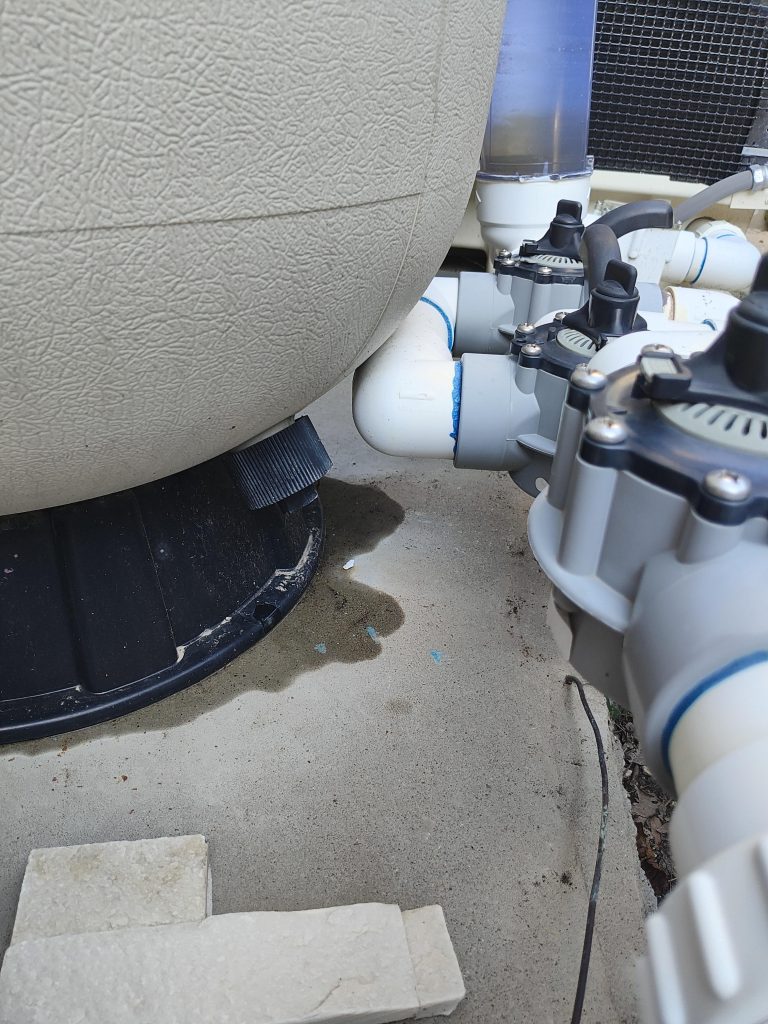
Many above-ground kits from Coleman, and Flowclear units from Intex, combine the pump and the filter in one compact assembly. That layout creates leak points that owners often mistake for motor seal failures. The filter basket lid, the drain plug, and the union nuts between pump and filter are the usual suspects. Water dripping from underneath after the pump runs usually comes from one of these fittings. Because the pump and filter share a base, a drip can travel along the frame and appear far from its actual source, which makes it easy to chase the wrong part.
Start with a simple paper towel test. Dry the unit thoroughly, run it for a few minutes, and watch where the wet spot appears. If it shows at the drain plug, tighten the plug by hand and replace its gasket if it’s flattened. If it shows at a union, check the O-ring inside and make sure the nut sits square. A seal that fails at the motor shaft behaves differently, and it tends to leak only while the pump runs. Leaks from the drain plug, by contrast, often appear even when the unit is sitting idle after it has been filled, since the water pressure is still present in the housing.
Repair or replace is a fair question with these units. Drain plugs, gaskets, and union nuts are inexpensive parts. A cracked pump housing, a burned motor, or a split filter tank usually isn’t worth fixing. Check the unit’s age, whether replacement parts are still sold for the model, and how the repair cost compares with a new unit. Many pool filter problems in these combo units start with the fittings, not the motor. Keeping a small kit of spare gaskets and O-rings for your specific model is a cheap way to avoid a surprise repair in the middle of the season.
Inspection Priorities for Each Filter Type
- DE filters: check grids and manifold for tears first, since torn fabric sends powder back into the pool.
- Sand filters: test for channeling and confirm the multiport valve clicks through every position.
- Cartridge filters: inspect the lid O-ring and housing for cracks before assuming the pump is at fault.
- Above-ground combo units: check drain plugs and union nuts for weeping before replacing any motor parts.
Inspect the Housing and Media Before Replacing the Pump
Most persistent flow and clarity complaints trace back to the filter. Check the grids, the sand bed, the valve, and the lid seals before spending money on a new pump. Each of these parts is visible and testable. A torn grid, a channeled bed, or a dry O-ring can produce symptoms that look exactly like a failing motor. Working through the filter first is also the cheaper path, since a set of grids or an O-ring costs a small fraction of a pump, and the inspection itself usually takes less than an afternoon. Pool filter problems in any housing type follow the same inspection order.
If the inspection turns up damage, replacement parts are usually the next step. Parts for DE, sand, and cartridge units tend to cost far less than a pump. Prices vary by model and seller, so match the part number first. A cracked housing or a bed that channels through is when a full replacement makes sense. When in doubt, take a photo of the damaged part and compare it with the manufacturer’s diagram before you order, since a quick visual check often saves a return shipment.
About this guide: This article draws on public manufacturer documentation and common industry practice, and it reflects no first-hand testing. It covers filter-side causes of pool problems, not pump repair.
Further Reading
- Sand Filters Compared with DE Filters on Leak and Flow Problems
- Why Diatomaceous Earth Filters Develop Cracks in the Manifold
- Saltwater Versus Sand Pump Performance Under Low Pressure Conditions
- Circulation Drops in Sand Based Filters Require Specific Checks
- Four Factors That Reduce Pressure in Pool Filters