Power verification before troubleshooting

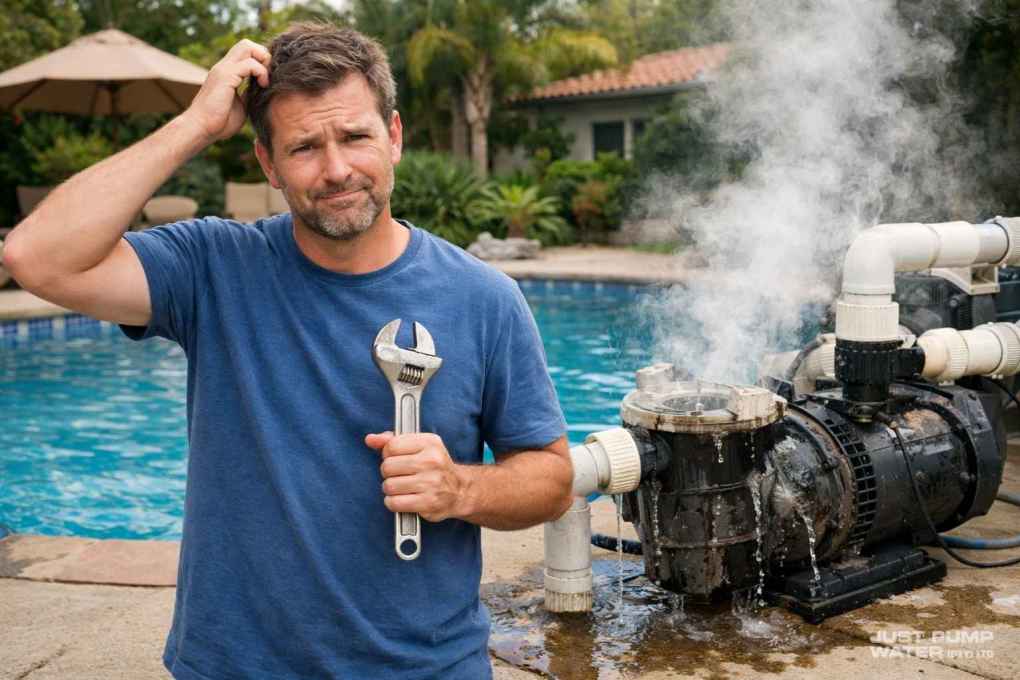
Pool owners across the United States often face the frustration of a silent or unresponsive swimming pool pump. Initial Checks for a Non-Working Swimming Pool Pump provides a practical starting point before contacting a technician. These checks help determine whether the problem stems from a simple power issue, a clogged line, or something more serious that requires professional swimming pool pump repair services.
Understanding the basic sequence of Initial Checks for a Non-Working Swimming Pool Pump saves time and avoids unnecessary service calls in many cases. For example, loss of prime after a heavy rainstorm floods the equipment pad, and a quick suction line inspection restores full operation without any repair costs.
In another instance, construction nearby stirs up sediment that temporarily blocks the skimmer intake; clearing the line by hand takes only minutes once the location is known.
Most residential inground systems share common components such as the motor, impeller, strainer basket, and pressure gauge. When circulation stops, the first task is confirming power reaches the unit. Next comes visual inspection for debris or leaks. Only after these steps should owners consider opening the pump housing or testing the capacitor. Performing Initial Checks for a Non-Working Swimming Pool Pump in order reduces the chance of missing an obvious cause. Think of it like troubleshooting a car that won’t start: you check the battery before pulling the engine. The same logical progression applies here, preventing wasted effort on complex fixes when a tripped GFCI or dirty basket is the real culprit. Adding a quick visual sweep of the equipment pad for signs of rodent damage or chewed wiring can also reveal hidden problems before they escalate into expensive electrical repairs.
Many pool owners search for ways to perform Initial Checks for a Non-Working Swimming Pool Pump when the motor hums but does not start. Others notice the pump runs yet produces no water flow. Both situations benefit from the same orderly diagnostic approach. The steps below focus on safety, correct tool use, and clear decision points that tell you when to stop and call for help. Often, replacing a worn lid o-ring after noticing air bubbles during a suction test resolves the issue without a service call. Homeowners in humid regions like the Gulf Coast often find that salt air accelerates corrosion on electrical terminals, so carrying a small bottle of dielectric grease during these checks helps protect connections after inspection.
Initial Checks For A Non-Working Swimming Pool Pump Step by Step

Verify Power Supply and Breaker Status
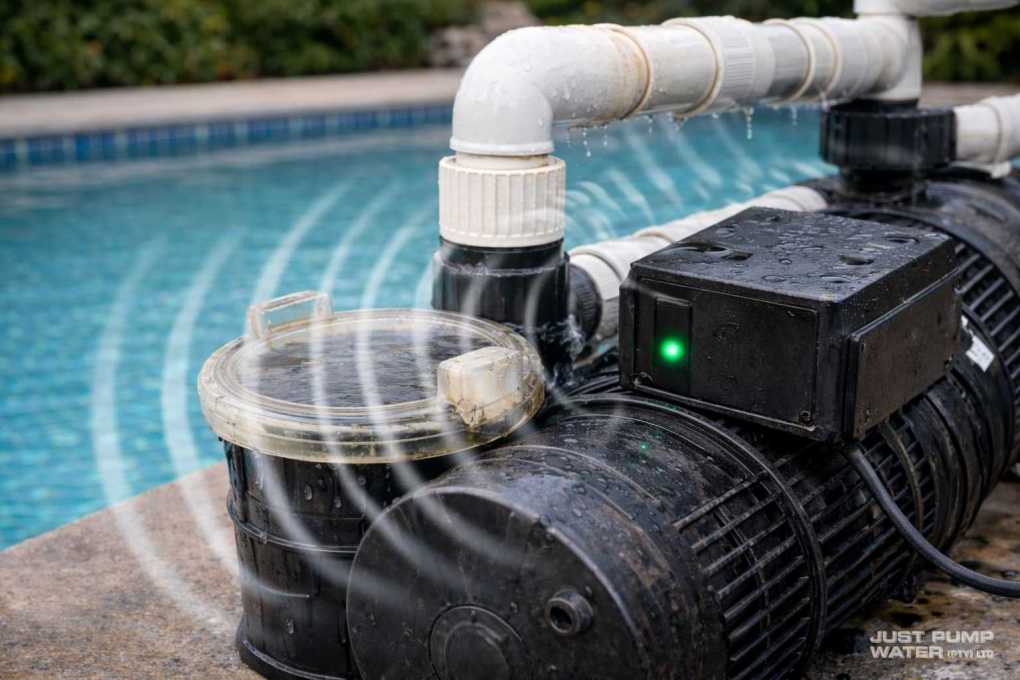
Initial Checks for a Non-Working Swimming Pool Pump begin by confirming the pump receives electricity. Locate the dedicated circuit breaker for the pool equipment and check whether it has tripped. Reset it once, then listen for the motor. If it trips again immediately, leave the breaker off and schedule swimming pool motor repair because a short circuit likely exists inside the motor windings or wiring. Many homeowners make the mistake of resetting repeatedly, which can overheat connections and create a fire risk; instead, use a multimeter to check for consistent voltage at the motor terminals before proceeding. Keeping a small logbook near the equipment pad lets you note the exact time and weather conditions each time a breaker trips, which can help technicians spot patterns such as afternoon overloads from added landscape lighting.
Next inspect the GFCI outlet or breaker that protects the circuit. Press the test button, then reset. A failed GFCI prevents power from reaching the pump even when the main breaker remains closed. Replace the GFCI device if it will not reset or if the pump still receives no power after replacement. Practical tip: test the GFCI monthly during swimming season, as moisture from nearby sprinklers often causes premature failure in outdoor setups. In rainy climates, installing a weatherproof cover over the GFCI enclosure adds another layer of protection and can extend the life of the device by several years.
Examine the timer or automation box. Many systems use mechanical or digital timers that can fail internally. Bypass the timer temporarily by setting it to the on position or using the manual override. If the pump starts, the timer needs replacement. This simple check often resolves the issue without further disassembly. In many cases, a stuck mechanical timer dial seized from years of sun exposure is the cause. Upgrading to a digital timer with surge protection often prevents similar failures in areas prone to thunderstorms.
Understanding Voltage Requirements for Your Pump Motor
Pool pumps typically require either 115 or 230 volts depending on the motor size. Before assuming a wiring issue, confirm your home’s supply matches the motor nameplate rating. Low voltage from an undersized extension cord or shared circuit can cause the motor to hum without turning, leading owners to incorrectly blame the capacitor. Always measure voltage under load with the pump attempting to start for an accurate reading. If you live in an older neighborhood where the service panel has not been updated, consulting an electrician about dedicated pool circuits can eliminate recurring low-voltage headaches that shorten motor life.
Inspect the Strainer Basket and Suction Line
Turn off power at the breaker before removing the pump lid. Lift the lid and check the basket for leaves, twigs, or sand that block water flow. A full basket creates a vacuum that can damage the impeller and cause the motor to overheat. Clean the basket and reinstall it securely. In coastal areas, fine beach sand often sneaks past skimmer weirs and packs the basket within days, so weekly inspections become essential during summer. Some owners install a secondary leaf canister upstream of the pump to catch larger debris before it reaches the basket, cutting cleaning time dramatically during peak leaf season.
With the basket clear, feel for suction at the skimmer and main drain. Place your hand over the open skimmer throat while the pump runs briefly. Strong suction indicates the suction line remains clear. Weak or no suction points to a clogged pipe, closed valve, or air leak somewhere in the suction plumbing. A practical example involves tree roots invading underground lines in older neighborhoods, which gradually restrict flow until the pump loses prime entirely. Using a garden hose to back-flush the suction line from the skimmer can sometimes dislodge minor blockages without excavation.
Air leaks commonly occur at the pump lid o-ring or threaded unions. Apply soapy water around these joints while the pump attempts to prime. Bubbles reveal the leak location. Tighten unions or replace the o-ring as needed. Persistent air leaks require further investigation of underground suction lines. Keep a spare o-ring in your pool shed; they cost only a few dollars but prevent hours of frustration during prime-loss episodes. Applying a thin film of silicone lubricant to the new o-ring before installation helps it seat evenly and last longer under constant pressure changes.
Check the Pressure Gauge and Discharge Side
Observe the pressure gauge on the filter tank after the pump restarts. Normal operating pressure usually falls between 10 and 20 psi for clean filters. Zero pressure with the pump running suggests either no water reaching the filter or a failed gauge. High pressure above 30 psi indicates a clogged filter or closed return valve. Seasonal tip: after heavy pollen or leaf drop, backwash or clean the filter more frequently to keep pressure in the normal range and protect the pump motor from strain. Installing a pressure gauge with a built-in maximum indicator needle makes it easier to spot gradual increases that signal the need for cleaning before the motor works too hard.
Feel the discharge pipe leaving the pump. It should warm slightly as water moves through. A cold pipe means water is not circulating. Trace the return line for closed valves or kinked hoses. Opening a valve or straightening a hose often restores flow immediately. Accidental closure of return valves, such as during backyard play, can cause mysterious no-flow issues. Marking valve handles with bright tape or labels prevents similar accidental closures in households with active children or frequent visitors.
If pressure remains absent, remove the pump lid again and verify the impeller spins freely. A jammed impeller from debris or a broken shaft coupling stops water movement even when the motor turns. These conditions typically require motor or seal replacement by a technician offering swimming pool pump repair services. Always inspect the impeller vanes for hair or string that can wrap tightly and stop rotation without obvious visual clues. Keeping a small dental pick or plastic scraper in the pool toolkit helps remove stubborn debris without scratching the impeller surfaces.
Test the Capacitor and Motor Operation
Capacitors store energy to start single-phase motors. A bulging or leaking capacitor prevents the motor from starting. Discharge the capacitor by shorting the terminals with an insulated screwdriver after power is off. Replace any capacitor showing physical damage or testing below its rated microfarad value. Digital multimeters with capacitance mode make this test quick and accurate for most DIYers. Storing spare capacitors in a sealed plastic bag inside the equipment shed protects them from humidity and dust until they are needed.
Listen to the motor when power is applied. A steady hum without rotation usually indicates a bad capacitor or seized bearings. A clicking sound may come from a failed centrifugal switch inside the motor. Both issues point toward motor replacement rather than simple repair. In humid climates, corrosion on the centrifugal switch contacts often causes intermittent starting problems that worsen over time. Spraying electrical contact cleaner on accessible terminals during annual maintenance can delay corrosion-related failures.
Feel the motor housing after five minutes of run time. Excessive heat suggests the motor is working harder than normal because of a clogged impeller, low voltage, or failing bearings. Continued operation under these conditions shortens motor life and risks complete failure. Consider installing a motor cover or shade structure if your equipment pad receives direct afternoon sun, as elevated ambient temperatures accelerate bearing wear. Some owners add a small exhaust fan near the pad to improve airflow during the hottest months.
Evaluate When Professional Service Becomes Necessary
After completing the checks above, owners usually know whether the problem is electrical, mechanical, or plumbing related. Persistent issues such as repeated breaker trips, seized impellers, or leaking mechanical seals require tools and parts best handled by trained technicians. At this stage, searching for fix my pool pump leads to local companies that can quote repair versus replacement options. Many technicians now offer video consultations where you can show them photos of your equipment before they arrive. Preparing a short video of the pump attempting to start can further reduce diagnostic time on site.
Compare the age of the existing motor with current replacement costs. Motors older than eight years often cost nearly as much to repair as a new unit. Newer motors may only need a capacitor or seal kit. A service technician can provide exact pricing after inspection. Factor in energy efficiency gains when considering replacement; newer variable-speed models often pay for themselves within two seasons through lower electricity bills. Checking local utility rebate programs before purchasing can reduce the upfront cost of upgrading to an energy-efficient unit.
Document each step performed and the results. This record helps the technician diagnose faster and prevents duplicate work. Many companies appreciate customers who have already ruled out power and debris issues before arrival. Take photos of the pressure gauge reading, basket condition, and any error codes on automation systems to speed up the service visit. Sharing these images via email ahead of the appointment often allows the technician to bring the correct parts on the first trip.
Common Mistakes
- ❌ Resetting the breaker multiple times without investigating the cause. Repeated resets can damage wiring and create fire hazards. ✅ Reset once, then measure voltage and inspect connections before trying again.
- ❌ Running the pump with the strainer basket removed or the lid loose. This allows debris into the impeller and creates dangerous suction hazards. ✅ Always replace the basket and secure the lid before restoring power.
- ❌ Ignoring air leaks until the pump loses prime repeatedly. Small leaks grow over time and damage the motor through overheating. ✅ Fix leaks at the first sign of bubbles or sputtering water flow.
- ❌ Opening the pump housing while power remains connected. Live terminals create shock risk even when the motor is off. ✅ Disconnect power at the breaker and verify zero voltage with a meter before any internal inspection.
- ❌ Assuming a new motor will solve every circulation problem. A clogged suction line or closed valve will destroy the replacement motor quickly. ✅ Verify clear flow paths before installing new equipment.
What People Ask
How long should Initial Checks for a Non-Working Swimming Pool Pump take?
Most owners complete the full sequence in under thirty minutes when no major disassembly is required. Checking power, cleaning the basket, and testing suction usually reveals the cause quickly. If the motor must be opened or wiring tested, allow an additional hour. Keep a notepad handy to record each result.
Can I perform Initial Checks for a Non-Working Swimming Pool Pump without special tools?
Basic checks need only a screwdriver, multimeter, and garden hose. A voltage tester confirms power at the motor terminals. Replacement parts such as capacitors or o-rings require no special equipment beyond standard hand tools. Advanced diagnostics involving motor windings or underground leaks call for professional equipment.
What safety steps come first during Initial Checks for a Non-Working Swimming Pool Pump?
Always turn off the breaker and lock it out before touching any wiring or opening the pump. Verify zero voltage with a meter. Never stand in water while working on electrical components. Wear safety glasses when testing capacitors because they can discharge suddenly. These precautions prevent shock and injury.
Does performing Initial Checks for a Non-Working Swimming Pool Pump void my warranty?
Most manufacturer warranties cover defects in materials, not owner-performed diagnostics. Simple checks such as cleaning the basket or verifying power do not affect coverage. Opening the motor or replacing parts yourself may void the warranty. Review the motor manual before proceeding beyond visual inspection.
When should I stop and call a technician instead of continuing checks?
Stop if the breaker trips repeatedly, the motor housing becomes too hot to touch, or water leaks from the motor itself. These signs indicate internal damage that requires specialized tools and replacement parts. Continuing risks further equipment failure or personal injury.
Can weather conditions affect pump performance during initial checks?
Yes, extreme heat can cause motors to overheat faster, while freezing temperatures may crack plastic components or freeze water in lines. Always perform checks during moderate weather and protect the equipment pad with proper covers during off-season months to prevent weather-related failures.
How often should I perform these initial checks as preventive maintenance?
Run through the basic power and basket inspection monthly during swimming season. A full diagnostic sequence every spring before opening the pool catches problems early and often prevents mid-season breakdowns when service calls become more expensive.
Should I check the pump during winter months even if the pool is closed?
Yes, brief monthly inspections help catch issues like cracked lids or rodent damage before spring opening. Removing debris that accumulated over winter prevents sudden clogs when the system restarts.
Is it worth upgrading to a variable-speed pump after repeated failures?
Many owners find that variable-speed models reduce stress on plumbing and filters while lowering energy costs. They also run quieter and often qualify for utility rebates that offset part of the upgrade expense.
Suction and discharge inspections sequence
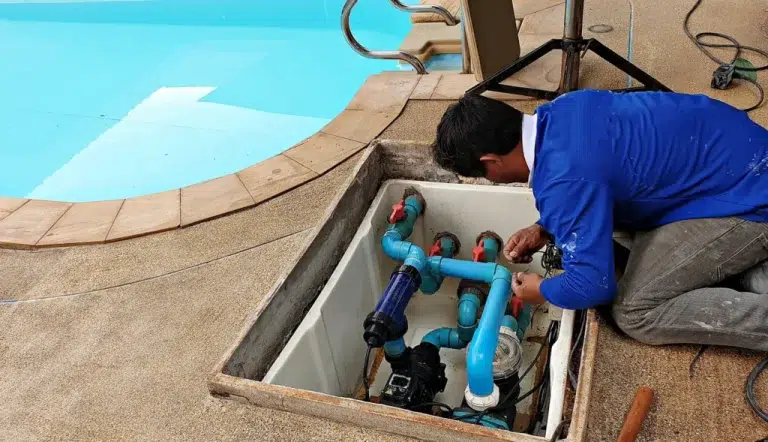
Start every troubleshooting session of Initial Checks for a Non-Working Swimming Pool Pump with power verification, then move through the suction and discharge inspections in order. Keep notes so you can report exact symptoms when you need swimming pool pump repair services. This approach identifies simple fixes fast and prevents unnecessary part replacements. Creating a seasonal checklist posted near the equipment pad helps family members or future homeowners follow the same reliable process. Laminating the checklist protects it from moisture and sun fading so it remains readable for years.
If the motor still fails after these checks, contact a local technician for swimming pool motor repair. Provide your notes and the age of the equipment. Technicians can then quote options for repair versus full replacement based on actual findings rather than guesswork. Regular basket cleaning and seal inspections reduce future downtime and extend equipment life. Many pool owners who adopt this proactive routine find their pumps last well beyond the typical eight-to-ten-year mark while keeping repair costs minimal. Scheduling an annual professional tune-up in addition to these homeowner checks often catches wear on bearings or seals before they cause complete failure during peak swimming season.
{“@type”:”FAQPage”,”@context”:”https://schema.org”,”mainEntity”:[{“name”:”How long should Initial Checks for a Non-Working Swimming Pool Pump take?”,”@type”:”Question”,”acceptedAnswer”:{“text”:”Most owners complete the full sequence in under thirty minutes when no major disassembly is required. Checking power, cleaning the basket, and testing suction usually reveals the cause quickly. If the motor must be opened or wiring tested, allow an additional hour. Keep a notepad handy to record each result.”,”@type”:”Answer”}},{“name”:”Can I perform Initial Checks for a Non-Working Swimming Pool Pump without special tools?”,”@type”:”Question”,”acceptedAnswer”:{“text”:”Basic checks need only a screwdriver, multimeter, and garden hose. A voltage tester confirms power at the motor terminals. Replacement parts such as capacitors or o-rings require no special equipment beyond standard hand tools. Advanced diagnostics involving motor windings or underground leaks call for professional equipment.”,”@type”:”Answer”}},{“name”:”What safety steps come first during Initial Checks for a Non-Working Swimming Pool Pump?”,”@type”:”Question”,”acceptedAnswer”:{“text”:”Always turn off the breaker and lock it out before touching any wiring or opening the pump. Verify zero voltage with a meter. Never stand in water while working on electrical components. Wear safety glasses when testing capacitors because they can discharge suddenly. These precautions prevent shock and injury.”,”@type”:”Answer”}},{“name”:”Does performing Initial Checks for a Non-Working Swimming Pool Pump void my warranty?”,”@type”:”Question”,”acceptedAnswer”:{“text”:”Most manufacturer warranties cover defects in materials, not owner-performed diagnostics. Simple checks such as cleaning the basket or verifying power do not affect coverage. Opening the motor or replacing parts yourself may void the warranty. Review the motor manual before proceeding beyond visual inspection.”,”@type”:”Answer”}},{“name”:”When should I stop and call a technician instead of continuing checks?”,”@type”:”Question”,”acceptedAnswer”:{“text”:”Stop if the breaker trips repeatedly, the motor housing becomes too hot to touch, or water leaks from the motor itself. These signs indicate internal damage that requires specialized tools and replacement parts. Continuing risks further equipment failure or personal injury.”,”@type”:”Answer”}},{“name”:”Can weather conditions affect pump performance during initial checks?”,”@type”:”Question”,”acceptedAnswer”:{“text”:”Yes, extreme heat can cause motors to overheat faster, while freezing temperatures may crack plastic components or freeze water in lines. Always perform checks during moderate weather and protect the equipment pad with proper covers during off-season months to prevent weather-related failures.”,”@type”:”Answer”}},{“name”:”How often should I perform these initial checks as preventive maintenance?”,”@type”:”Question”,”acceptedAnswer”:{“text”:”Run through the basic power and basket inspection monthly during swimming season. A full diagnostic sequence every spring before opening the pool catches problems early and often prevents mid-season breakdowns when service calls become more expensive.”,”@type”:”Answer”}},{“name”:”Should I check the pump during winter months even if the pool is closed?”,”@type”:”Question”,”acceptedAnswer”:{“text”:”Yes, brief monthly inspections help catch issues like cracked lids or rodent damage before spring opening. Removing debris that accumulated over winter prevents sudden clogs when the system restarts.”,”@type”:”Answer”}},{“name”:”Is it worth upgrading to a variable-speed pump after repeated failures?”,”@type”:”Question”,”acceptedAnswer”:{“text”:”Many owners find that variable-speed models reduce stress on plumbing and filters while lowering energy costs. They also run quieter and often qualify for utility rebates that offset part of the upgrade expense.”,”@type”:”Answer”}}]}