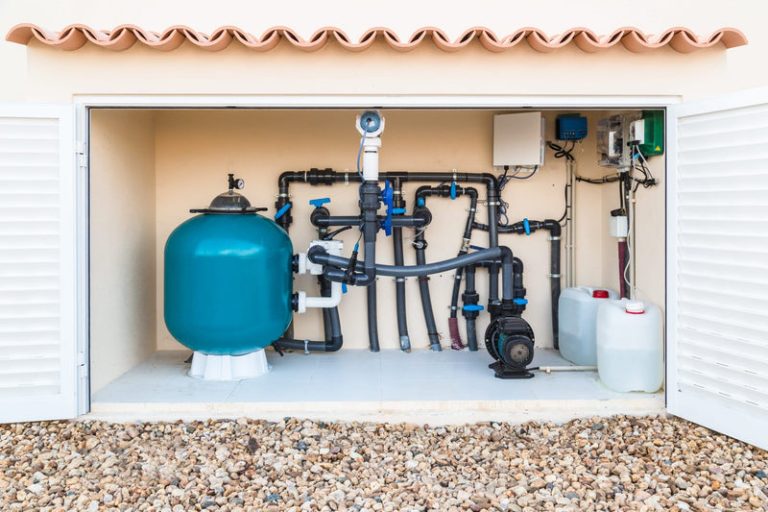
Typical Leak Indicators on Inground Pool Pumps
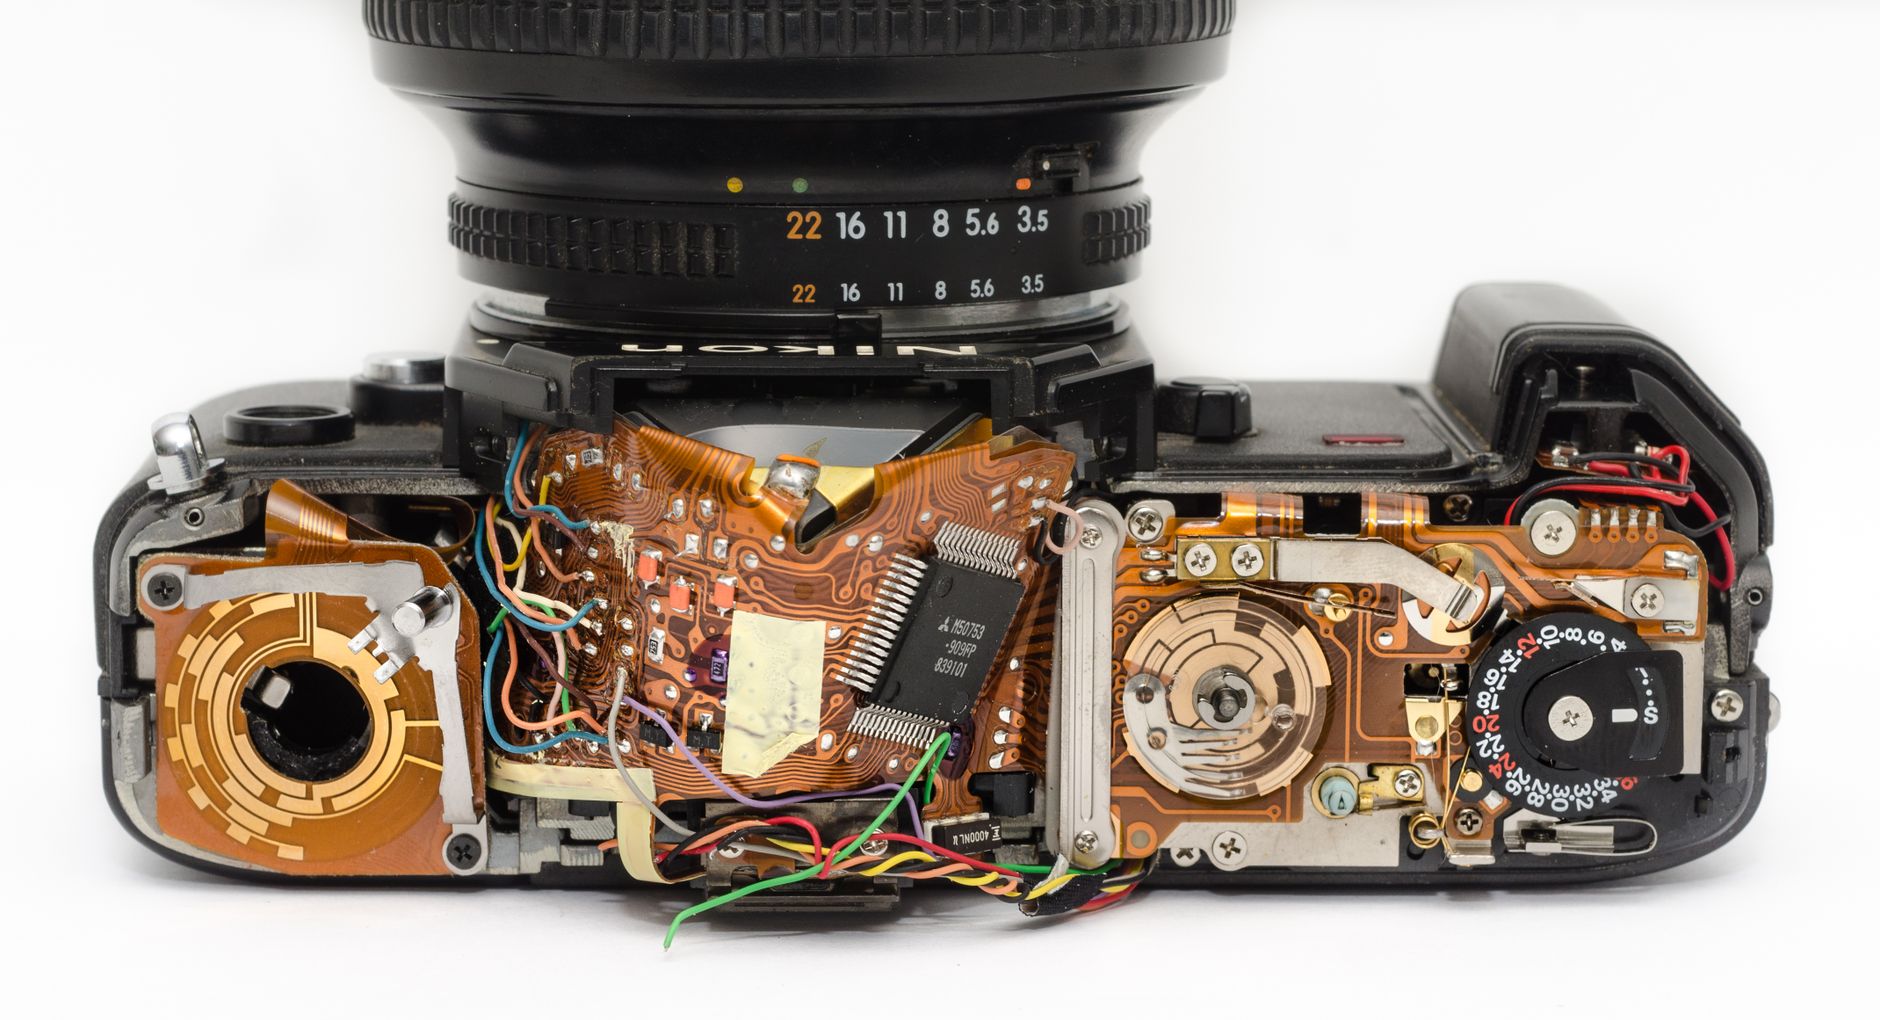
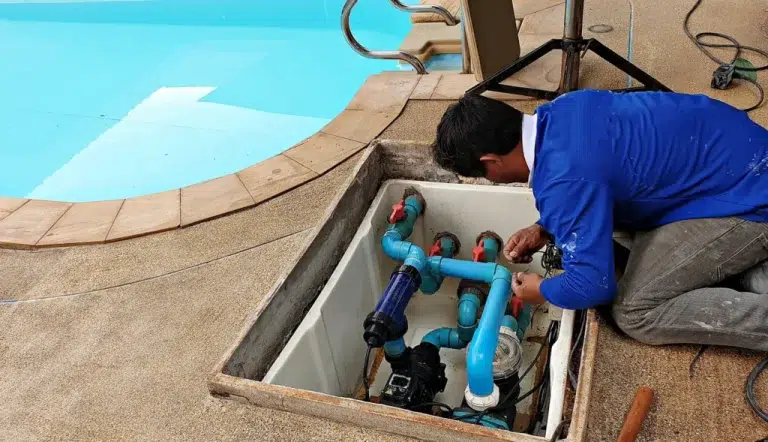
Water collecting under an inground pump or a damp motor housing often points to seal or gasket trouble. Three spots fail most often. They are the shaft seal behind the impeller. They are the large housing gasket between the volute and motor. They are the threaded unions on the suction and return pipes. Spotting drips right after shutdown or noticing lower pressure at the returns gives the first clues. Homeowners sometimes notice a faint musty smell near the equipment pad during humid months. This can signal slow seepage. It has already begun to affect nearby wiring or concrete. Another telltale sign appears when the pump struggles to prime after a power outage. Even a small leak lets air enter the system and reduces suction efficiency.
When you suspect a swimming pool pump leaking, pool pump disassembly is the next move. It confirms the source before parts are ordered. Taking time to photograph the equipment from multiple angles before you begin. This helps later when you need to reference exact hose positions or bolt patterns.
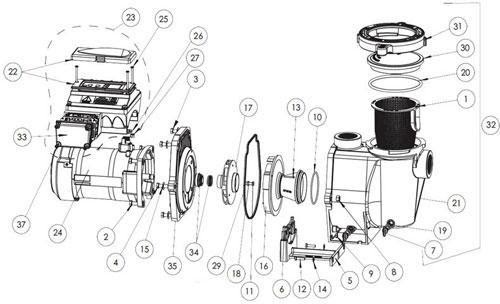
Pool pump disassembly isolates whether water escapes past the mechanical seal. It also checks the compressed gasket. It checks cracked threads at the pipe connections too. The process takes basic hand tools and careful handling so the motor stays dry and reusable. In coastal areas, salt air can accelerate corrosion on metal brackets. This makes early inspection even more important for long-term reliability.
Recognizing Early Warning Signs Before Major Failure
Many pool owners first notice reduced water flow at the returns. This happens during peak swimming hours. The pump works hardest then. Listening for unusual grinding or whining from the motor can also indicate that water has already reached the bearings. It reaches them through a compromised seal. Checking the pump housing after a rainstorm sometimes reveals moisture that was not there before. This points to a slow gasket leak rather than simple condensation.
Detailed Pool Pump Disassembly Sequence
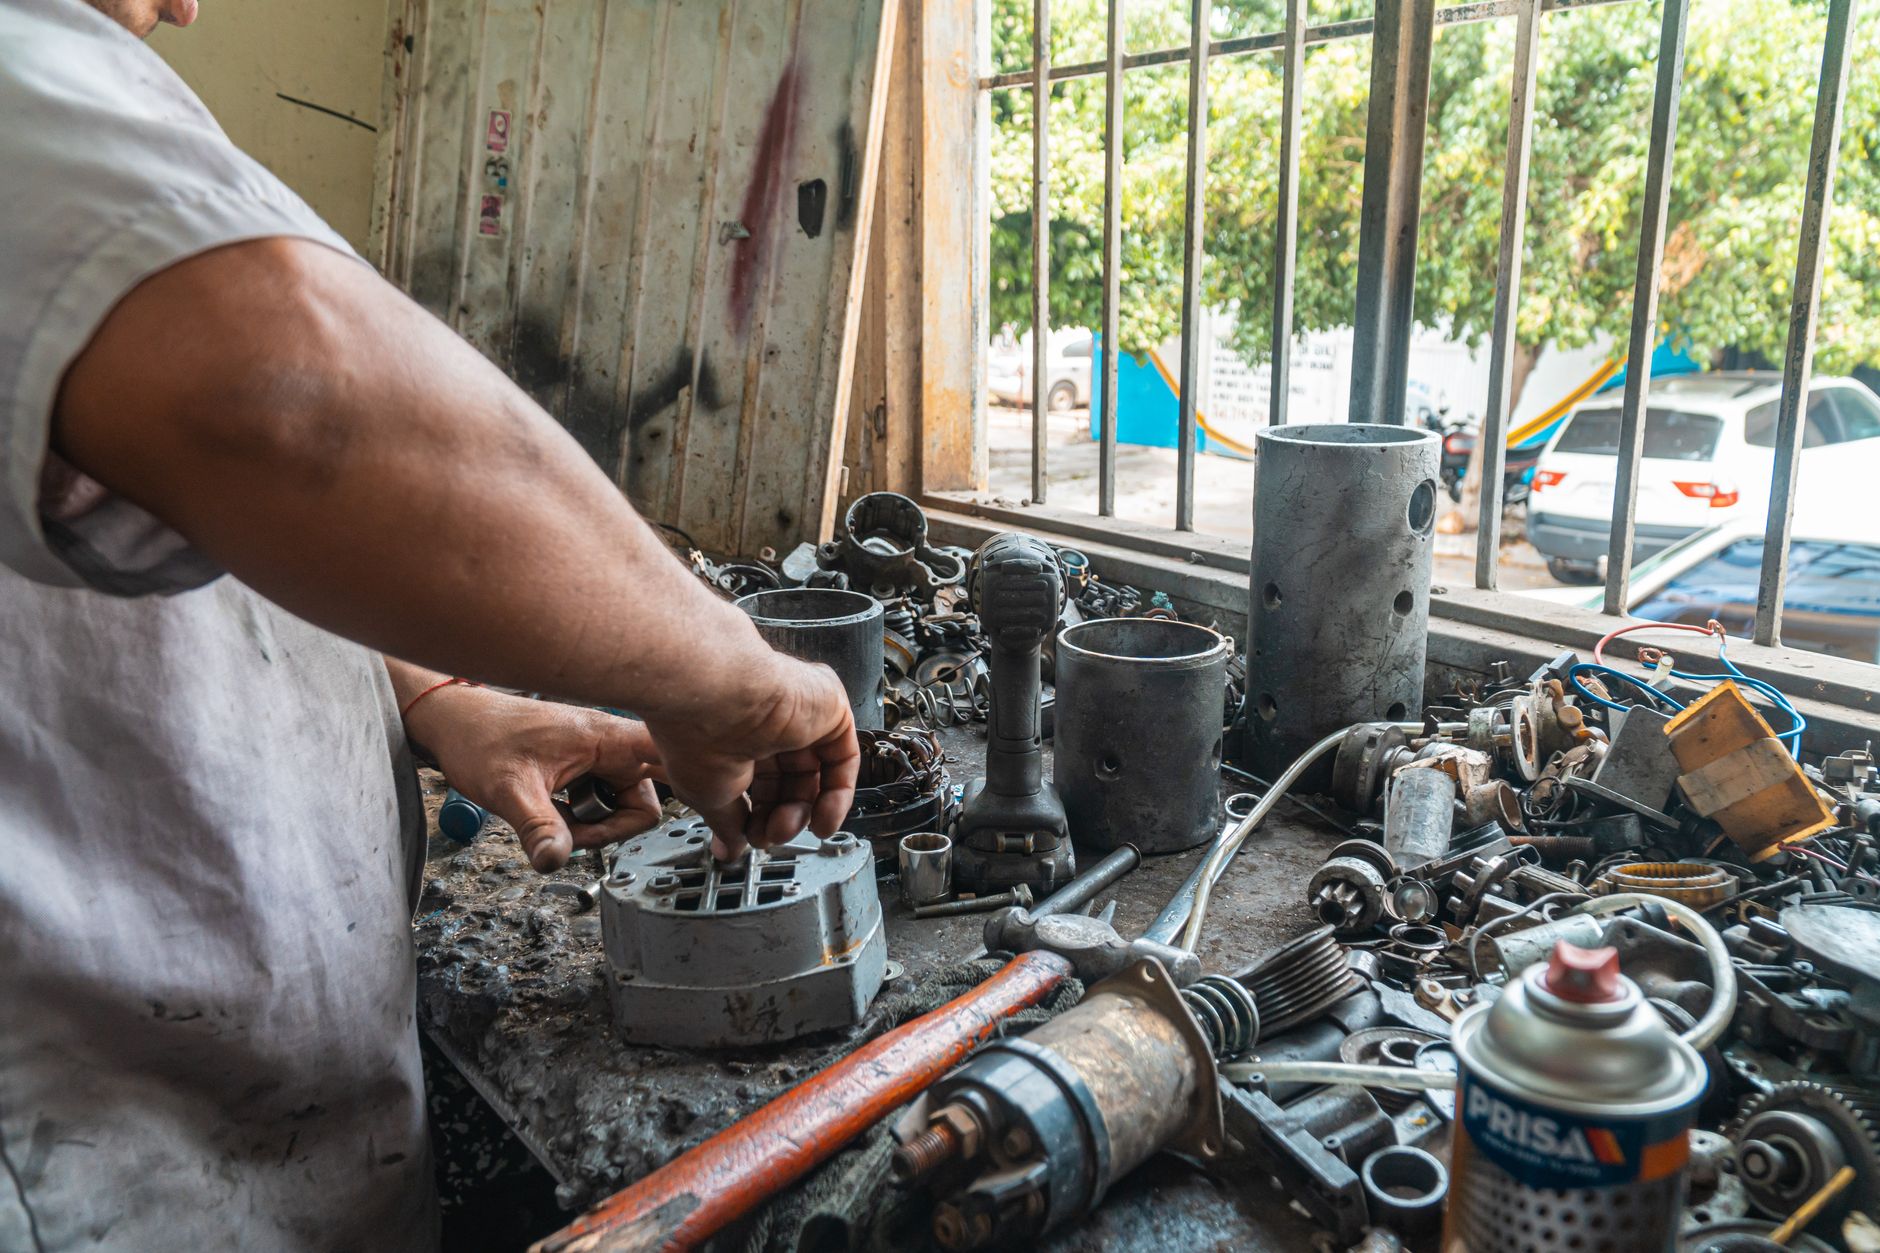
Pool pump disassembly follows a fixed order. It protects the motor and reveals the exact leak path. Each step below includes safety notes and what to watch for once the housing opens. Keeping a small notebook handy lets you jot down the condition of each component as you remove it. This proves useful when ordering replacement parts weeks later. For the adjacent problem, How Long Does a Pool Pump Motor Last Facing Seal Leaks? goes deeper into the specifics.
Tools and Safety Preparations
Before starting, gather a strap wrench. Gather channel-lock pliers with rubber pads. Gather a non-contact voltage tester. Gather a shallow catch pan. Having these items ready prevents mid-process trips to the garage. It reduces the chance of dropping fasteners into the equipment pad gravel. Always wear safety glasses. Spring-loaded seals can pop free unexpectedly during removal. For the adjacent problem, Repairing Pool Pumps That Leak at Multiple Points goes deeper into the specifics.
- Shut off power and isolate water Turn the breaker feeding the pump to the off position and lock it out. Close the suction and return valves at the equipment pad. Open the drain plug on the volute so any trapped water runs clear. This step prevents electrical shock and stops the pool from draining while the pump sits apart. Always verify voltage is absent with a non-contact tester before touching any wire or terminal. In most systems the pump sits on a concrete pad. Place a catch pan underneath to contain the remaining water once the unions loosen. One useful tip is to place a few old towels around the base beforehand. They absorb stray drips and keep the work area from becoming slippery.
- Remove the pump lid and basket Unscrew the clear lid ring counterclockwise and lift the lid straight up. Reach inside and pull the basket out. Then rinse it so debris does not fall back into the volute during later steps. A clogged basket can hide small pieces of debris that later score the new seal surface. Set the lid and basket aside on a clean towel so threads stay free of sand. This also gives a clear view into the impeller eye for any obvious obstructions before the motor comes off. If the basket shows hairline cracks, note the damage. It can allow larger debris to reach the impeller and damage the new seal prematurely.
- Loosen the unions on suction and return sides Use channel-lock pliers with rubber-jaw pads on the union nuts. Turn each nut counterclockwise while holding the pipe steady so the threads do not crack. Once both unions move freely, slide them back along the pipe a few inches. Water that continues to drip from either union after the valves are closed usually means the valve itself leaks. It means the pipe has a hairline crack downstream. Mark the original position of each union with tape so reassembly lines up exactly. In older installations, the pipe threads may have been sealed with old Teflon tape that has hardened. Gently scraping it away now prevents contamination of the new O-rings.
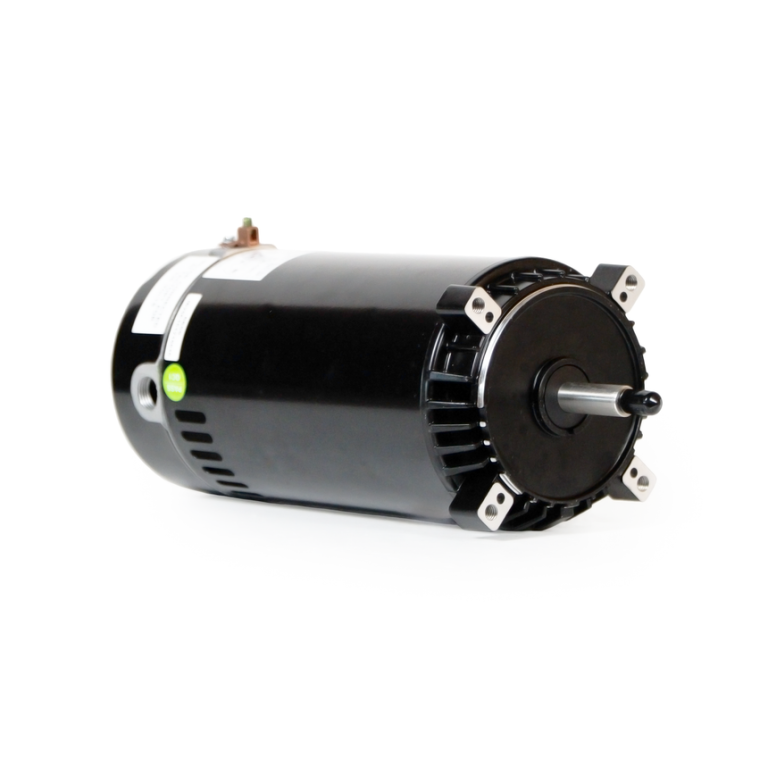
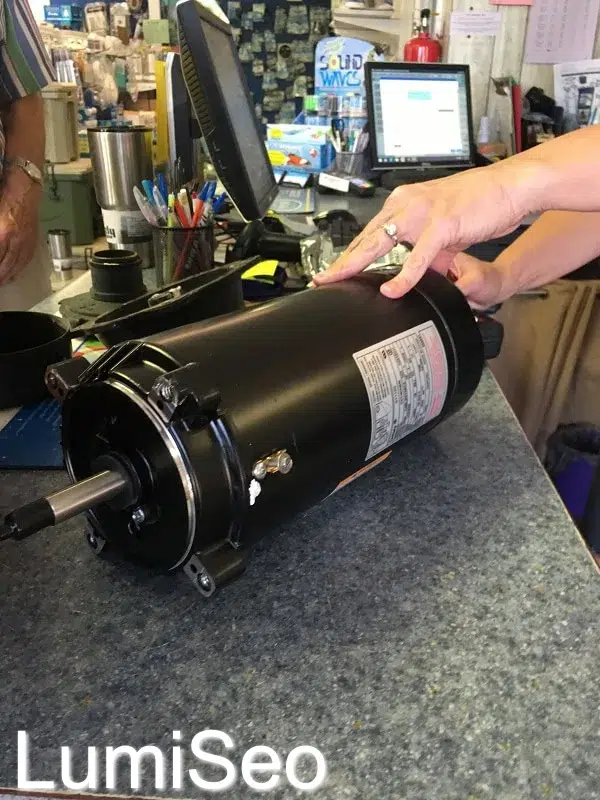
- Separate the motor from the volute Remove the four or six bolts that hold the motor bracket to the volute. Support the motor with one hand while loosening the last bolt so the assembly does not drop. Gently rock the motor back and forth to break the gasket seal. If the impeller stays inside the volute, the shaft seal has likely failed. Water has reached the bearings. Keep the motor shaft horizontal during separation so any remaining water does not run into the windings. A second pair of hands helps here. This is especially true on larger two-horsepower motors that weigh more than thirty pounds.
- Inspect the shaft seal and gasket surfaces Pull the impeller off the shaft by turning it counterclockwise while holding the shaft with a strap wrench. The spring-loaded half of the seal usually comes out with the impeller. Look for a cracked ceramic face or a scored rubber boot. Check the flat gasket surface on both the volute and the motor bracket for grooves deeper than a fingernail. Replace both halves of the seal and the gasket whenever either shows wear. A reused gasket rarely seals again. Running a fingertip lightly across the ceramic ring often reveals tiny chips invisible to the eye. They would cause immediate leakage once reassembled.
- Check plumbing threads for cracks Shine a flashlight into the suction and return ports on the volute. Hairline cracks often start at the first thread and travel outward. Run a finger along each thread. Any sharp edge or missing chunk means the volute needs replacement. Also inspect the O-rings inside the unions for flattening or cuts. A pool pump pipe leak at the threads usually requires a new volute rather than tape or sealant. Tape or sealant only masks the problem temporarily. Many technicians now carry a small dental mirror to inspect threads hidden deep inside the ports. They do this without removing the entire pump from its pad. Pool pump disassembly at this stage confirms whether the volute itself must be swapped.
Common Errors During Pump Teardown
- ❌ Forcing the impeller with metal screwdrivers or hammers. ✅ Use a strap wrench and turn the impeller by hand. The shaft is soft and bends easily. Bending the shaft even slightly creates vibration that shortens bearing life after reassembly.
- ❌ Reusing the old housing gasket after it has been compressed. ✅ Always install a fresh gasket. The old one has taken a permanent set and will seep. In humid climates, the old gasket may also have absorbed moisture and swelled. This makes proper compression impossible on reinstallation.
- ❌ Leaving the motor on its side while water drains from the seal cavity. ✅ Keep the motor shaft horizontal so water stays out of the bearings and windings. Placing the motor upright on a folded towel for ten minutes after separation lets any residual moisture evaporate safely.
- ❌ Over-tightening the union nuts with metal tools. ✅ Snug them by hand plus a quarter turn. Excess torque cracks the plastic ports. Using an impact driver on plastic unions is another common mistake that leads to immediate thread failure.
When Reassembly Works and When Motor Replacement Follows
If the shaft seal and gasket surfaces look smooth after cleaning, new parts restore a reliable seal. The motor can go back together the same day. Measure the distance from the motor face to the end of the shaft before reassembly. This ensures the impeller sits at the correct depth. Applying a thin film of silicone-based lubricant to the new O-rings makes sliding the unions back into place much easier. It avoids damaging the rubber.
When the bearings feel rough or water has entered the motor end bell, pool pump motor repair costs usually exceed the price of a new motor. In that case, swapping the entire motor assembly avoids repeated leaks and restores full flow. Call a technician if the volute threads are cracked or the impeller shows deep pitting. Those parts affect long-term reliability more than the seals alone. Keeping the old impeller as a spare pattern helps when ordering future replacements months or years later. Pool pump disassembly records from the teardown help decide if motor replacement is truly required.
Frequently Asked Questions
How often should I inspect the shaft seal on an inground pool pump? Most manufacturers recommend a visual check every six months. This is especially true after heavy summer use or winter storage. Early detection prevents water from reaching the motor bearings.
Can I reuse the ceramic portion of the mechanical seal if it looks clean? No. Both halves of the seal should be replaced together. The mating surfaces wear as a matched set. Reusing one side almost always leads to immediate leakage.
What causes a pool pump pipe leak at the threaded unions even after new O-rings are installed? Hairline cracks in the volute threads are the usual culprit. The only permanent fix is replacing the entire volute housing. Pool pump disassembly experience shows that cracked ports rarely hold a seal long term.
Further Reading
- Lifespan Expectations for Pool Pump Motors Facing Seal Leaks
- Repairing Pool Pumps That Leak at Multiple Points
- Variable Speed Pool Pump Versus Single Speed Models Durability Comparison
- Pool Heat Pump Motor Life Expectancy in Daily Use
- Pool Pump Disassembly Steps for Heat Pump Owners