Pinhole Leak in Pool Sand Filter: Why a Tiny Hole in a Sand Filter Tank Matters More Than It Looks
A pinhole leak in pool sand filter tanks is one of those problems that starts small and gets bigger fast. You might notice a damp patch on the pad, a slow drip near the base, or a pool that keeps dropping a few inches a day. Usually the cause is corrosion from the inside out, a manufacturing flaw in the fiberglass or plastic shell, or a sharp knock that cracked the wall. Whatever started it, the hole lets water escape under pressure, and that pressure is what keeps the leak growing.
Acting quickly matters for two reasons. First, every hour the leak runs is water you’re paying to replace. Second, a sand filter that leaks at the tank wall can also lose media into the pool. Sand in the return lines can wear out the pump seal. This article walks through a practical repair sequence for a small hole in the tank wall. It covers everything from shutting the system down safely to pressure testing the patch before you run the pump again.
A pinhole leak in pool sand filter tanks can usually be sealed with a two-part epoxy patch. This works only if the hole is small, the surrounding area is sound, and the tank is still structurally solid. Shut the pump off and release pressure. Drain the tank below the hole, clean and dry the surface, apply the epoxy, let it cure fully, and pressure test before refilling. If the crack is spreading, the hole is near a seam, or the tank is old and brittle, replacement is the safer call.
Step-by-Step Guide to Sealing a Pinhole in the Filter Tank
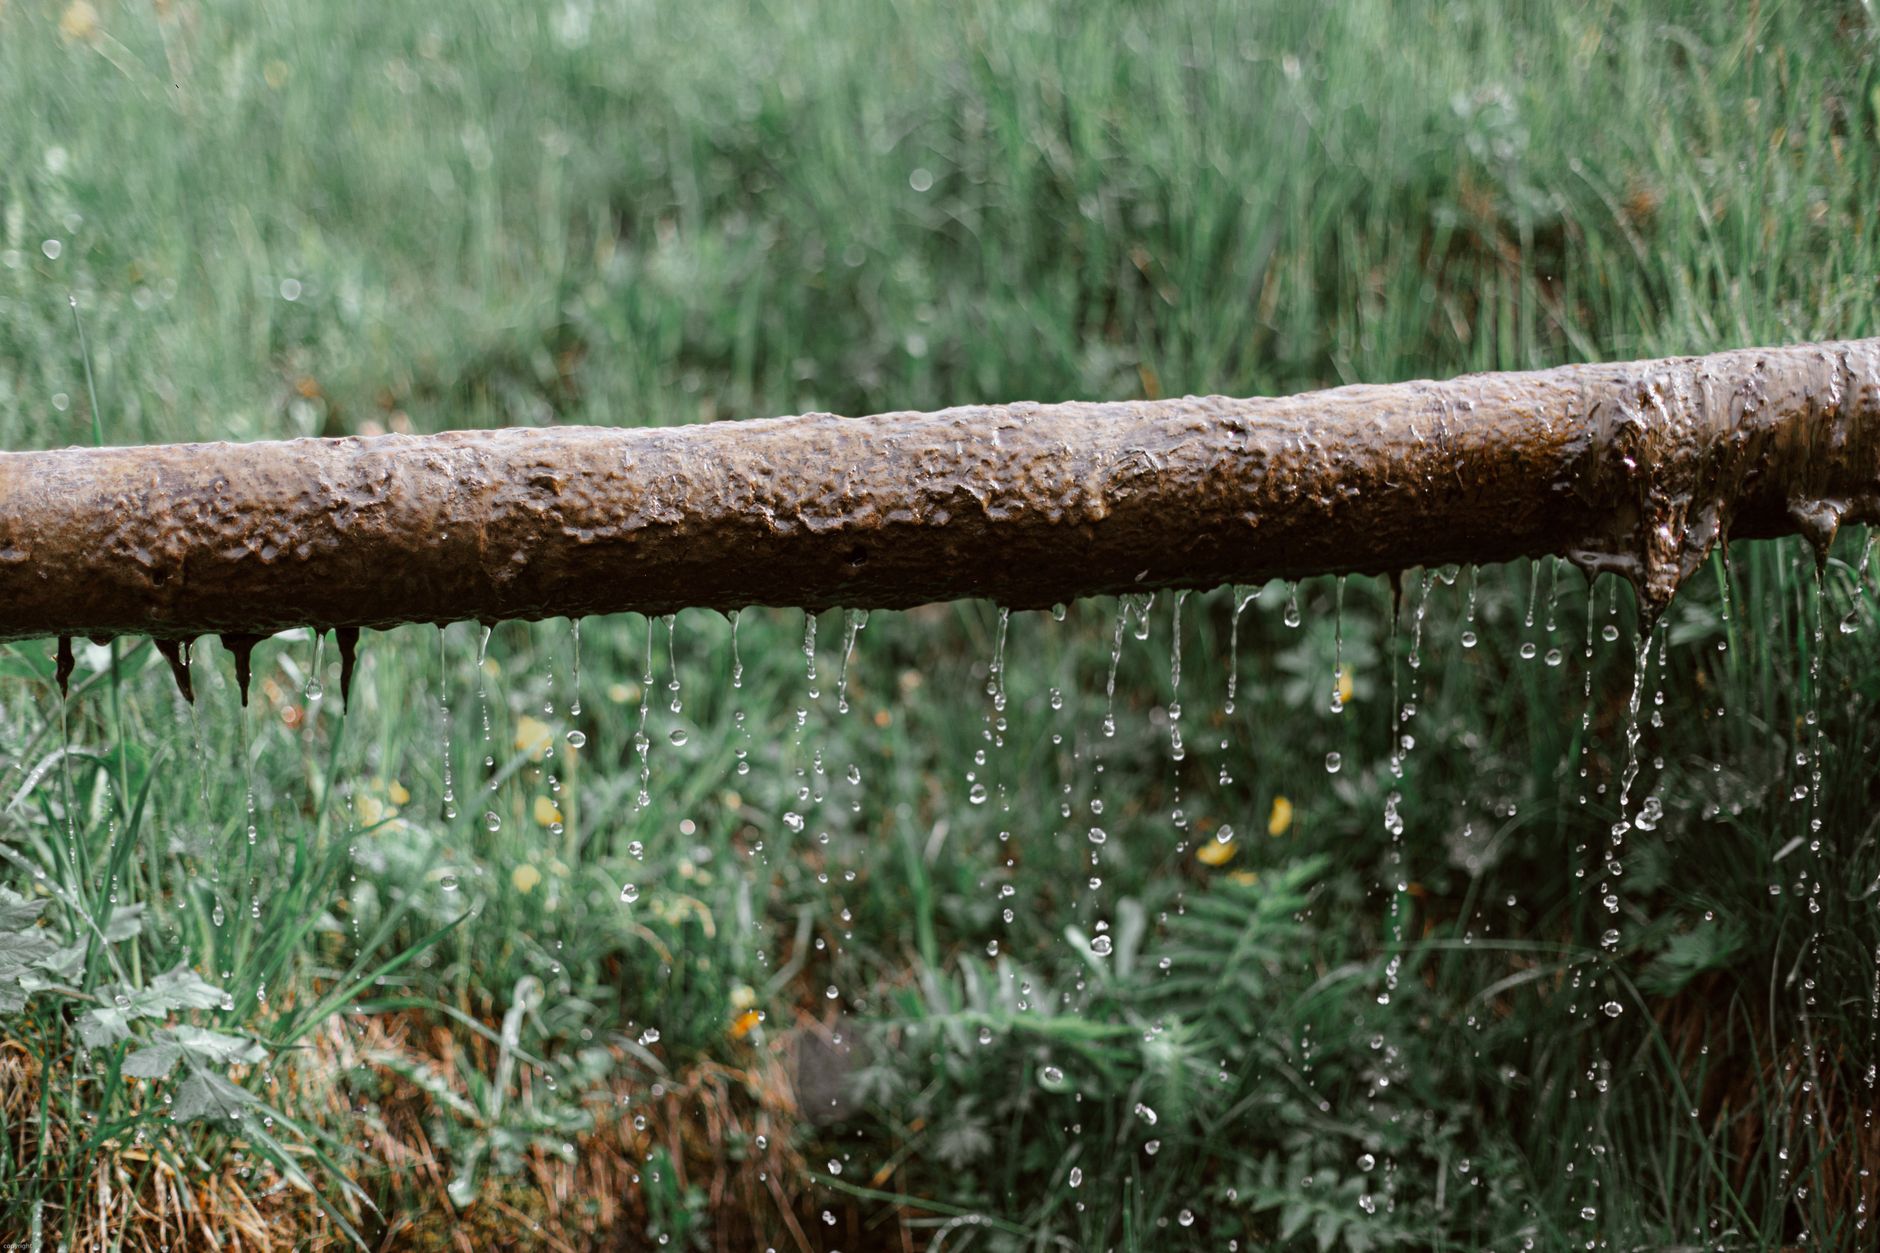
Before you start, confirm the leak is coming from the tank body and not a union, the multiport valve, or a clamp. Dry the tank and watch the spot while the pump runs. If water reappears at the same point under pressure, you have found the right hole. Work through the six steps in order, because skipping one usually means redoing the whole job.
-
Shut off the pump and release pressure. Switch the pump off at the breaker, not just the control panel, so nothing can restart while you work. Then move the multiport valve to the waste or closed position and open the air relief valve on top of the tank. You’ll hear air hiss out until the gauge reads zero. Working on a pressurized tank is the fastest way to get soaked or hurt, so don’t rush this part.
-
Drain the tank below the hole. Open the drain plug at the bottom of the tank, or disconnect the bottom drain line if your model uses one. Water only needs to drop below the leak, so you don’t have to empty the whole vessel. Keep the sand in place as much as you can. If you have to remove sand to reach the spot, bag it, because it’s hard to get back in cleanly. Leave the drain open until the tank stops dripping.
-
Clean the area around the hole. Scrub a patch roughly 2 to 3 inches around the hole with a rough pad and a degreaser that doesn’t leave a film. Remove loose flakes, algae residue, and any chalky gelcoat or paint. Then wipe the surface with acetone and let it flash off. Epoxy won’t bond to oily or damp surfaces, and most failed patches trace back to skipping this step. Make sure the surface is completely dry before you move on.
-
Apply the epoxy patch. Use a two-part epoxy rated for the tank material, usually fiberglass or polyethylene, and mix only what you can apply in the pot life printed on the label. Press the compound firmly into the hole so it fills from the inside out where you can reach it. Feather the edges onto the surrounding wall so there’s no sharp lip. If the hole is larger than a pinhole, a fiberglass cloth layer under the epoxy adds strength.
-
Cure and pressure test. Cure time depends on the product and the temperature, so follow the epoxy maker’s stated cure schedule instead of guessing. Most two-part products need several hours to reach handling strength and a full day or more before they can hold pressure. Once cured, refill the tank with water, reconnect the plumbing, and run the pump briefly with the valve in filter position. Check the patch and the surrounding wall for beads of water. If it seeps, drain and repeat the repair rather than hoping it holds.
-
Refill and run the system. Once the patch passes a pressure check, reinstall any sand you removed and fill the tank to the normal level. Reopen the air relief valve, bleed air until water comes out steadily, and close it. Run the filter for a full cycle and then watch the patch area for the next few hours. Backwash and rinse according to your filter’s normal schedule, and keep an eye on sand loss in the pool for the first few days.
Common Mistakes That Bring the Leak Back
Most failed repairs come down to a handful of predictable errors. Here are the ones that cause the most trouble, along with the fix for each.
- ❌ Wrong: Patching while the tank is still pressurized. ✅ Right: Release all pressure and confirm the gauge reads zero before touching the tank.
- ❌ Wrong: Applying epoxy over a damp or greasy surface. ✅ Right: Dry, degrease, and wipe with acetone so the bond has something to grip.
- ❌ Wrong: Using a silicone or general-purpose sealant. ✅ Right: Choose a two-part epoxy made for the tank material, since silicone often peels under pressure.
- ❌ Wrong: Refilling before the cure time is over. ✅ Right: Wait for the full cure schedule on the product label, longer in cold weather.
Knowing When the Patch Is Not Enough
A patch is a reasonable fix for a single small hole in a healthy tank. It’s not a good fix for a tank that is cracking in several places, has a leak along a seam, or shows white, chalky, or brittle walls. Tanks that are many years old may simply be reaching the end of their service life, and a patch just moves the failure to the next weak spot. Compare the repair cost with the price of a replacement tank or a new filter before you commit. If the repair makes sense this season, watch the patched area closely for the first week of operation, and check it again after your next backwash. If it stays dry, you’ve bought yourself time. If it weeps again, stop patching and start planning a replacement.
Wrapping Up the Repair and Next Steps
A pinhole leak in pool sand filter tanks is often fixable with careful prep, a proper epoxy, and patience during the cure. Shut the system down safely, clean the surface well, and pressure test before you trust the patch. Keep an eye on the repaired spot during the first week, and pay attention to the tank’s age when you decide whether it’s worth fixing again.
If the leak keeps returning or the tank shows wider damage, a licensed pool service technician can inspect it. They can tell you whether a new filter makes more sense. Check your manufacturer’s manual before any repair, since warranty terms can change depending on how the tank was altered.
Related Topics
- Sand Filters Compared with DE Filters on Leak and Flow Problems
- Why Diatomaceous Earth Filters Develop Cracks in the Manifold
- Saltwater Versus Sand Pump Performance Under Low Pressure Conditions
- Circulation Drops in Sand Based Filters Require Specific Checks
- Four Factors That Reduce Pressure in Pool Filters