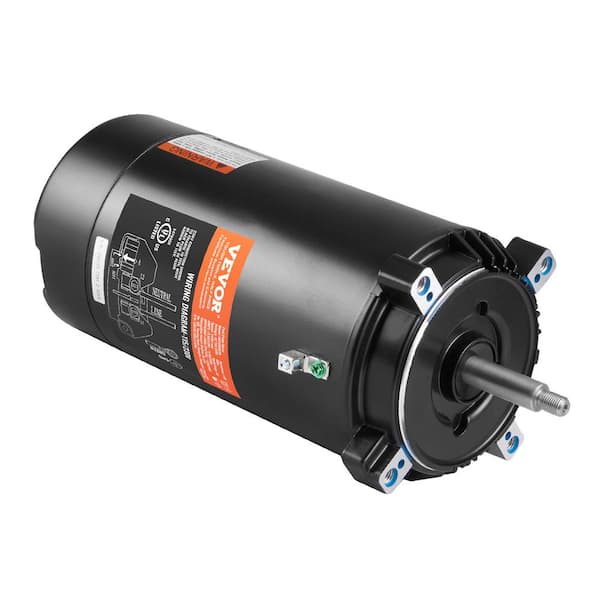
Why dripping indicates worn seal
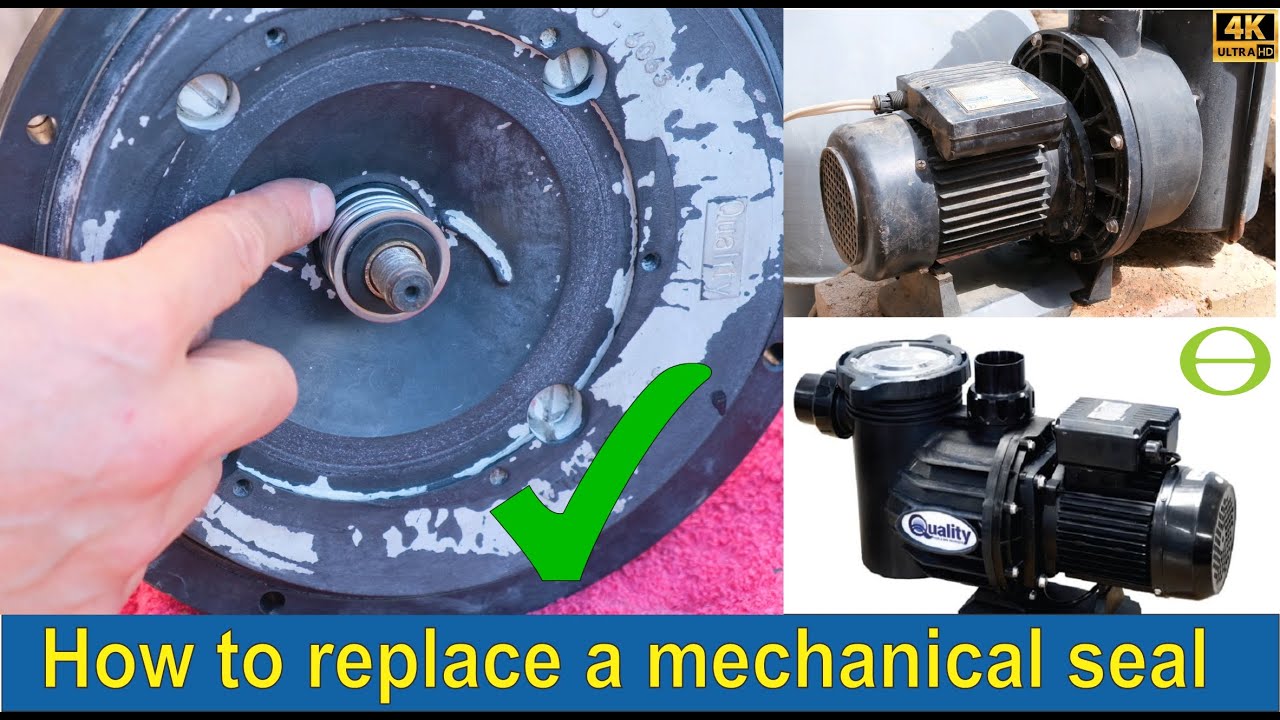
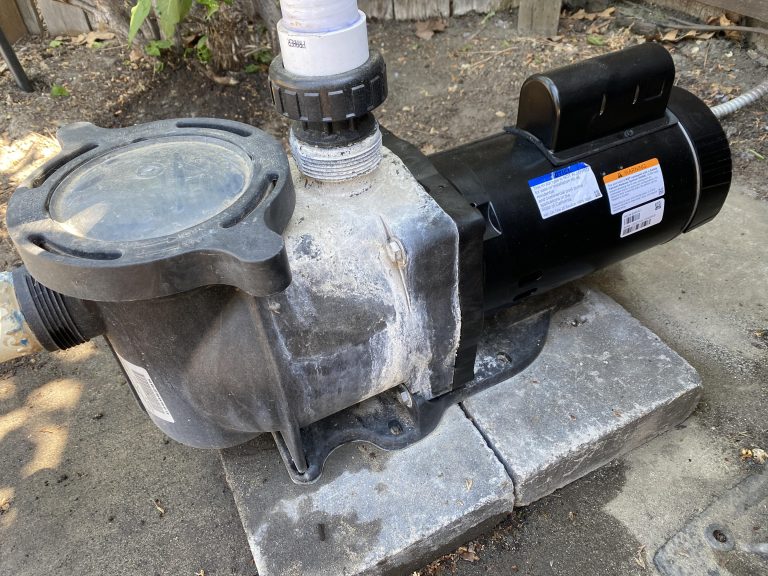
Many pool owners notice water dripping from the pump housing after the system has sat overnight. That leak usually points to a worn mechanical seal. Performing swimming pool pump seal replacement early often stops the problem before moisture reaches the bearings and forces a full swimming pool pump replacement. The job stays within reach of anyone who owns basic wrenches and a seal puller. It also costs far less than buying a new motor or complete pump assembly. In most residential inground systems the seal lasts three to five seasons before the spring and carbon faces score. Replacing it restores the watertight barrier between the wet end and the motor without disturbing the electrical connections. Homeowners who catch the drip early can finish the repair in a single afternoon and return the pool to normal service the same day.
A direct answer to the main question is straightforward. Swimming pool pump seal replacement involves isolating power, separating the wet end from the motor, prying out the old seal, pressing in a new one, and reassembling everything with fresh lubricant. The process takes two to four hours for most single-speed pumps and prevents the need for inground pool pump repair or swimming pool motor replacement in the near term. Homeowners often schedule swimming pool pump seal replacement at the first sign of moisture. This pairs well with Pool Pump Seal Replacement for Better Flow, which works through concrete examples. For the adjacent problem, Pool Pump Disassembly to Trace Seal and Gasket Failures goes deeper into the specifics. This pairs well with How Long Does a Pool Pump Motor Last Facing Seal Leaks?, which works through concrete examples. For the adjacent problem, Failures that Force Swimming Pool Pump Impeller Replacement goes deeper into the specifics.
How to Do It
- Turn off the breaker that feeds the pump and lock it out. Remove the lid from the pump basket and drain the housing through the drain plug. Loosen the unions or flanges that connect the pump to the plumbing. Slide the pump away from the pipes so you have room to work on a flat surface. Keep a towel handy because residual water will still spill out when you separate the halves.
- Remove the four or six bolts that hold the motor to the seal plate. Support the motor with one hand while you back the bolts out evenly. Once the bolts are free, gently rock the motor and pull it straight back. The impeller will stay attached to the motor shaft and the old seal will be exposed inside the seal plate. Set the motor aside on a clean mat.
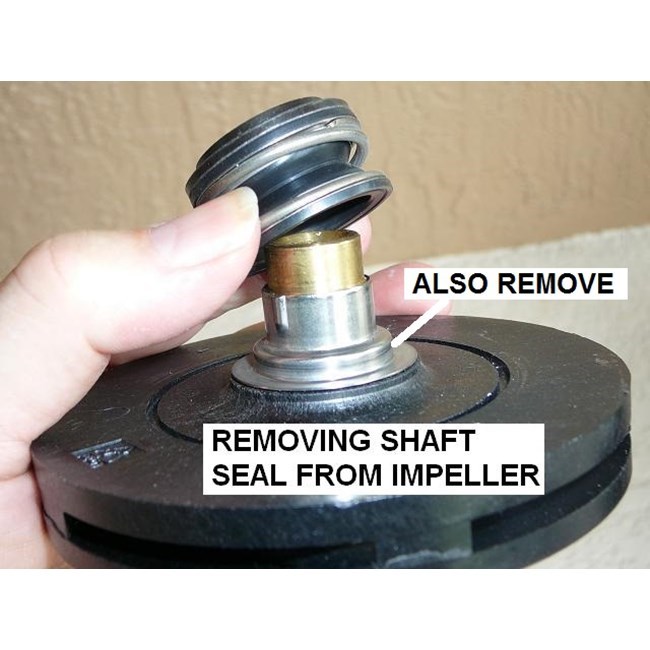
- Hold the impeller with an impeller wrench or strap wrench and loosen the lock screw or impeller nut that secures it to the shaft. Turn counterclockwise. Slide the impeller off the shaft. You will now see the spring side of the old seal still sitting in the impeller hub. Pry it out carefully with a plastic pick so you do not scratch the seating surface.
- Reach into the seal plate and push the ceramic portion of the old seal out from behind. It usually slides out with light pressure from a screwdriver handle. Clean the bore and the shaft thoroughly with emery cloth and a rag. Any grit left behind will ruin the new seal within days. Inspect the shaft for scoring; light grooves can be polished smooth, but deep marks mean the motor may need swimming pool motor replacement instead.
- Lubricate the new seal with a tiny amount of pool-safe silicone grease on the rubber bellows only. Never touch the polished faces with your fingers. Press the ceramic ring into the seal plate by hand until it bottoms out. Make sure it seats evenly all the way around. The polished side must face outward toward the impeller.
- Slide the spring and carbon ring assembly onto the motor shaft with the carbon face toward the ceramic ring. Push it on until the two polished faces touch. Reinstall the impeller and torque the lock screw or nut to the manufacturer specification, usually 15 to 20 foot-pounds. Spin the impeller by hand to confirm it turns freely without rubbing.
- Align the motor with the seal plate and start all the through-bolts by hand. Tighten them in a crisscross pattern to avoid warping the plate. Reconnect the plumbing unions, making sure the o-rings are seated and lightly greased. Replace the drain plug and close the lid on the basket.
- Restore power at the breaker. Prime the pump by filling the basket with water until it reaches the top. Start the pump and watch the seal area for leaks. A small drip at first is normal as the faces seat, but it should stop within a minute. Run the pump for ten minutes and recheck the unions for tightness.
Common Mistakes
- ❌ Wrong: Installing the ceramic ring backward so the polished face sits against the rubber. ✅ Right: The polished face must always face the carbon ring.
- ❌ Wrong: Forgetting to lubricate the rubber bellows before pressing the seal in. ✅ Right: A light film of silicone grease prevents tearing and helps the seal seat evenly.
- ❌ Wrong: Reusing the old impeller lock screw without checking for thread damage. ✅ Right: Replace the screw if the threads look worn; a loose impeller will destroy the new seal quickly.
- ❌ Wrong: Skipping the shaft inspection and reinstalling the motor with a scored shaft. ✅ Right: Polish or replace the shaft to protect the new seal and avoid swimming pool pump repair later.
Post-repair leak check next morning
After the swimming pool pump seal replacement, run the pump through a full cycle and check for leaks again the next morning. If the seal stays dry, the repair succeeded. Persistent moisture after the job points to either improper seating or shaft damage that may require professional inground pool pump motor replacement. Keep the pump basket clean and maintain proper water chemistry to extend seal life. When the motor hums, overheats, or shows signs of bearing wear, compare the cost of another seal job against a full swimming pool pump replacement. Many owners find that fixing the seal buys two or three more seasons before the motor itself needs attention. A closely related walkthrough, Components in Pool Pump and Pool Motor Replacement, picks up where this section ends.
The follow-up piece Pool Pump Parts That Fail Most Often, and What to Replace covers this in more practical detail.
- Pool Pump Components That Commonly Require Replacement
- Three Motor Styles That Fit Most Inground Pool Replacements
- Signs Your Swimming Pool Needs Immediate Pump Service
{“name”:”Replacing the Mechanical Seal on a Swimming Pool Pump”,”step”:[{“name”:”Turn off the breaker that feeds the pump and lock it out. Remove the lid from th”,”text”:”Turn off the breaker that feeds the pump and lock it out. Remove the lid from the pump basket and drain the housing through the drain plug. Loosen the unions or flanges that connect the pump to the plumbing. Slide the pump away from the pipes so you have room to work on a flat surface. Keep a towel handy because residual water will still spill out when you separate the halves.”,”@type”:”HowToStep”,”position”:1},{“name”:”Remove the four or six bolts that hold the motor to the seal plate. Support the “,”text”:”Remove the four or six bolts that hold the motor to the seal plate. Support the motor with one hand while you back the bolts out evenly. Once the bolts are free, gently rock the motor and pull it straight back. The impeller will stay attached to the motor shaft and the old seal will be exposed inside the seal plate. Set the motor aside on a clean mat.”,”@type”:”HowToStep”,”position”:2},{“name”:”Hold the impeller with an impeller wrench or strap wrench and loosen the lock sc”,”text”:”Hold the impeller with an impeller wrench or strap wrench and loosen the lock screw or impeller nut that secures it to the shaft. Turn counterclockwise. Slide the impeller off the shaft. You will now see the spring side of the old seal still sitting in the impeller hub. Pry it out carefully with a plastic pick so you do not scratch the seating surface.”,”@type”:”HowToStep”,”position”:3},{“name”:”Reach into the seal plate and push the ceramic portion of the old seal out from “,”text”:”Reach into the seal plate and push the ceramic portion of the old seal out from behind. It usually slides out with light pressure from a screwdriver handle. Clean the bore and the shaft thoroughly with emery cloth and a rag. Any grit left behind will ruin the new seal within days. Inspect the shaft for scoring; light grooves can be polished smooth, but deep marks mean the motor may need swimming pool motor replacement instead.”,”@type”:”HowToStep”,”position”:4},{“name”:”Lubricate the new seal with a tiny amount of pool-safe silicone grease on the ru”,”text”:”Lubricate the new seal with a tiny amount of pool-safe silicone grease on the rubber bellows only. Never touch the polished faces with your fingers. Press the ceramic ring into the seal plate by hand until it bottoms out. Make sure it seats evenly all the way around. The polished side must face outward toward the impeller.”,”@type”:”HowToStep”,”position”:5},{“name”:”Slide the spring and carbon ring assembly onto the motor shaft with the carbon f”,”text”:”Slide the spring and carbon ring assembly onto the motor shaft with the carbon face toward the ceramic ring. Push it on until the two polished faces touch. Reinstall the impeller and torque the lock screw or nut to the manufacturer specification, usually 15 to 20 foot-pounds. Spin the impeller by hand to confirm it turns freely without rubbing.”,”@type”:”HowToStep”,”position”:6},{“name”:”Align the motor with the seal plate and start all the through-bolts by hand. Tig”,”text”:”Align the motor with the seal plate and start all the through-bolts by hand. Tighten them in a crisscross pattern to avoid warping the plate. Reconnect the plumbing unions, making sure the o-rings are seated and lightly greased. Replace the drain plug and close the lid on the basket.”,”@type”:”HowToStep”,”position”:7},{“name”:”Restore power at the breaker. Prime the pump by filling the basket with water un”,”text”:”Restore power at the breaker. Prime the pump by filling the basket with water until it reaches the top. Start the pump and watch the seal area for leaks. A small drip at first is normal as the faces seat, but it should stop within a minute. Run the pump for ten minutes and recheck the unions for tightness.”,”@type”:”HowToStep”,”position”:8}],”@type”:”HowTo”,”@context”:”https://schema.org”}