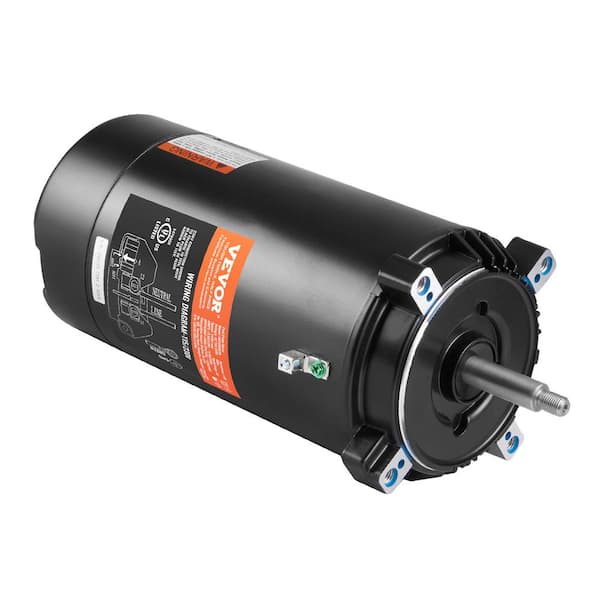
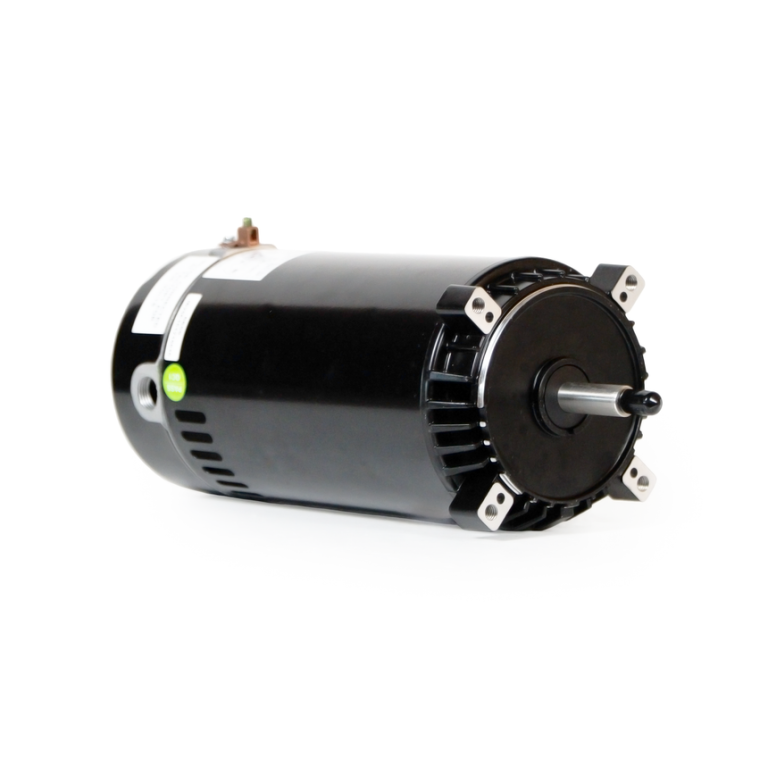
Fixing a Pool Pump at Home: An Overview
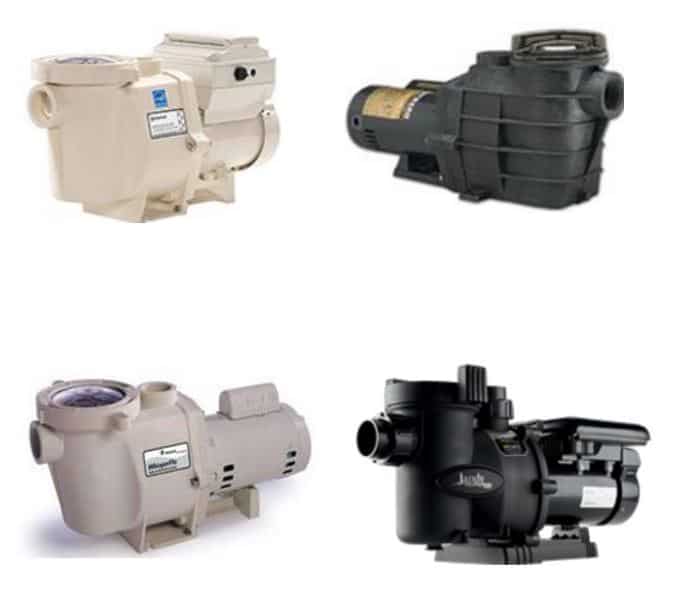
Pool owners often face situations where basic component failure stops circulation and filtration. Learning to fix pool pump at home can save time and money when the issue is limited to seals, impellers, or O-rings rather than the motor itself. Many residential systems use standard centrifugal designs that allow simple part swaps with basic tools. Before starting, confirm the model number and match replacement parts exactly to avoid leaks or vibration. This approach works well for owners comfortable with mechanical tasks who want to attempt repairs first. For instance, noticing a small drip under the pump housing during routine maintenance often allows replacement of a cracked O-ring and avoids a service call.
Common symptoms include reduced flow, unusual noise, or visible drips from the housing. These signs usually point to worn seals or debris caught on the impeller. Addressing them early prevents motor overheating and extends equipment life. Always shut off power and relieve pressure before any work begins. In coastal areas where sand infiltration is common, checking the impeller every six months can catch problems before they escalate into full motor failure. Pool pump maintenance near me searches often reveal that proactive owners who track these symptoms save hundreds annually compared to emergency repairs.
Replacing seal or impeller safely
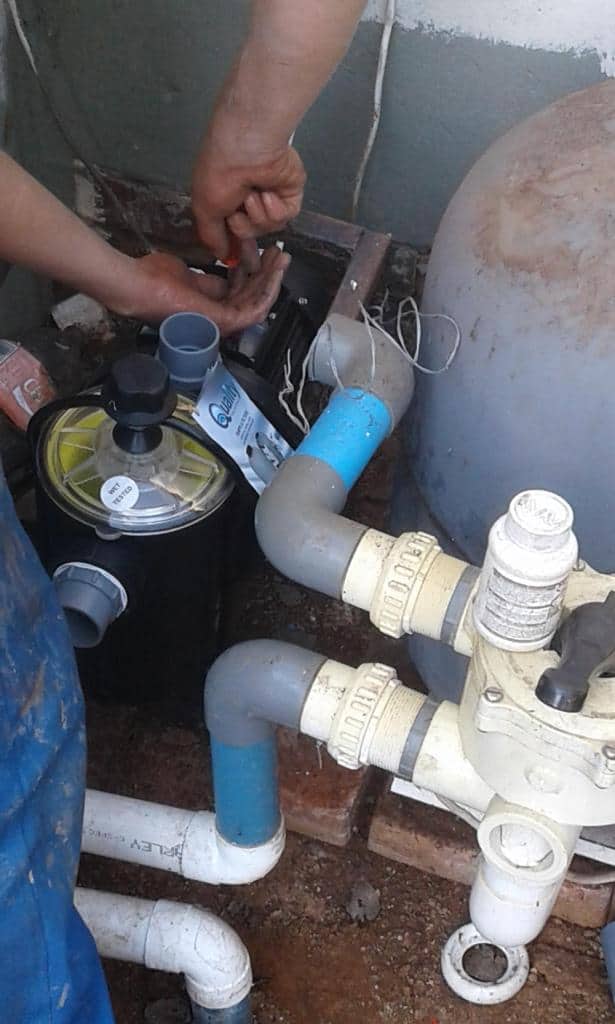
Follow these steps in order to fix pool pump by replacing a faulty seal or impeller safely. Each step includes checks that reduce risk of damage or injury. Many first-time DIYers find it helpful to photograph each disassembly stage with their phone so reassembly stays accurate even weeks later.
- Turn off power at the breaker and lock it out so the pump cannot start accidentally. Remove the lid or access panel and confirm no voltage remains with a non-contact tester. Close the isolation valves on both suction and return lines. Open the drain plug at the bottom of the housing and let all water exit into a bucket. This step takes five to ten minutes and prevents spills during disassembly. One practical tip is to place a shop vac hose over the open drain to speed water removal on larger systems.
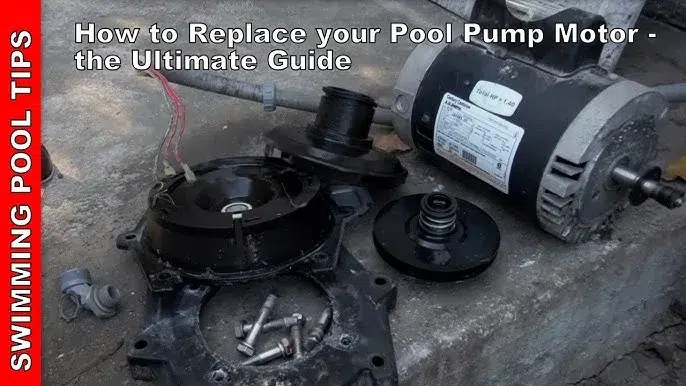
- Loosen the band clamp or bolts that secure the motor to the volute. Support the motor weight with one hand while removing the last fastener. Gently separate the motor and impeller assembly from the wet end. Set the motor on a clean towel so the shaft points upward. Inspect the shaft for scoring that might require further attention later. If you notice any rust or pitting on the shaft, lightly sand it with 400-grit paper before proceeding to prevent the new seal from leaking immediately.
- Hold the impeller with a strap wrench and turn the lock screw counterclockwise. Slide the impeller off the shaft once the screw is free. Note the position of any spacers or keys so reassembly matches the original layout. Rinse the impeller under clean water to remove sand or leaves that could have caused imbalance. Debris caught on the vanes can reduce flow substantially.
- Pry out the old ceramic seal with a plastic tool to avoid scratching the housing bore. Clean the seal seat thoroughly with a rag and mild detergent. Apply a thin film of silicone lubricant recommended by the manufacturer to the new seal’s rubber cup. Press the new seal squarely into place until it seats fully against the shoulder. Never use metal tools here because even a tiny scratch can create a path for water to bypass the seal within days.
- Reinstall the impeller in reverse order and torque the lock screw to the value listed in the service manual. Realign the motor to the volute using the original marks. Tighten the band clamp evenly in a crisscross pattern. Open the isolation valves slowly and check for leaks at the seal area before restoring power. Many technicians recommend running a dry test with valves closed first to confirm everything spins freely without binding.
- Restore power and run the pump for two minutes while watching the pressure gauge. Bleed any remaining air from the filter tank. Listen for grinding or rattling that would indicate improper reassembly. Record the new seal installation date on a tag attached to the pump for future reference. Keeping a simple maintenance log on your phone helps track how often seals need replacement and can reveal patterns tied to seasonal debris loads.
Matching seal and impeller parts
Match Parts to Your Exact Model
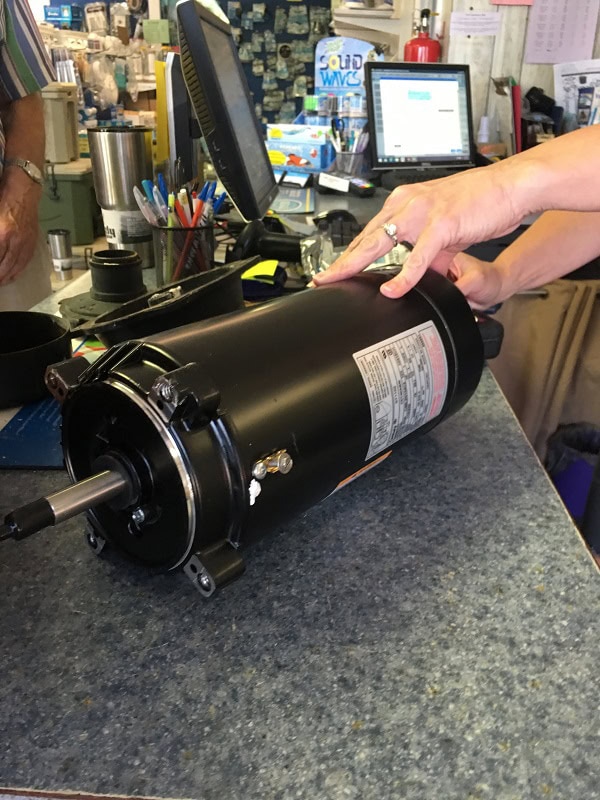
Take the old seal and impeller to a local supply house rather than ordering online by size alone. Slight differences in bore diameter or vane count create vibration that shortens motor life. Staff can cross-reference the pump data plate and confirm compatibility before you leave the counter. Bringing the entire wet-end housing along sometimes reveals subtle casting variations that online part numbers miss.
Fix Pool Pump Vibration Early
Excessive vibration after reassembly often comes from a misaligned motor or debris under the base. Loosen the mounting bolts, run the pump briefly, then retighten while it operates. This method lets the assembly settle into its natural position before final torque. A slight shim under the motor feet can eliminate a persistent humming noise. A closely related walkthrough, Pool Pump Motor Troubleshooting: Finding the Real Fault, picks up where this section ends.
Know When to Stop
If the motor windings smell burnt or the shaft spins freely with no resistance, the problem has moved beyond a simple seal swap. Continuing risks electrical shock or further damage. At that point contact a technician who offers swimming pool pump repair services for proper diagnosis. Many local companies now offer same-day diagnostic visits when you mention the model number during your initial call for fix pool pump near me.
Keep a Spare Seal Kit
Seals typically last three to five seasons. Buying an extra kit when you already have the pump open saves a second shutdown later. Store the kit in a cool, dry location away from direct sunlight so the rubber stays flexible. Label the bag with the pump model and purchase date so you never waste time searching through generic kits years later.
Check Electrical Connections During Every Repair
While the motor is removed, inspect the power cord, capacitor, and terminal connections for corrosion or loose wires. Tightening a single loose ground screw has prevented many callbacks after seal replacements. This extra five-minute check often catches issues that would otherwise require another full disassembly within weeks.
Which Repairs Are Worth Doing Yourself
If the new seal or impeller does not restore normal flow and pressure, the motor or impeller housing may need professional attention. In those cases, search for qualified local help rather than continuing trial-and-error replacements. Services that specialize in swimming pool pump repair can test windings, check capacitor values, and determine whether a full motor swap makes sense. Many owners also keep the model number handy so technicians arrive with the correct replacement pool pump motor on the first visit. Taking this measured approach protects both your equipment and your budget while still allowing simple fixes at home when appropriate. When searching fix my pool pump online, read recent reviews that mention response time and parts availability to avoid companies that rely on lengthy backorders.
Frequently Asked Questions About Pool Pump Repairs
How often should I inspect my pool pump seals? Most manufacturers recommend a visual check every three months and a full inspection once per season, especially after heavy leaf or storm debris loads that may force you to fix pool pump.
Can I use generic seals instead of OEM parts? Generic seals sometimes work but may wear faster if the rubber compound differs. Always verify dimensions and material ratings before installation to prevent early leaks.
What tools do I need beyond basic hand tools? A strap wrench, non-contact voltage tester, and torque wrench rated for small inch-pound values make the job much smoother and reduce the chance of over-tightening plastic components.
Further Reading
- Inground Versus Above Ground Pool Pump Repair Differences
- Signs Your Swimming Pool Needs Immediate Pump Service
- Pool Pump Components That Commonly Require Replacement
- Three Motor Styles That Fit Most Inground Pool Replacements
- Replacing the Mechanical Seal on a Swimming Pool Pump
{“name”:”Replacing a Faulty Pool Pump Component at Home”,”step”:[{“name”:”Turn off power at the breaker and lock it out so the pump cannot start accidenta”,”text”:”Turn off power at the breaker and lock it out so the pump cannot start accidentally. Remove the lid or access panel and confirm no voltage remains with a non-contact tester. Close the isolation valves on both suction and return lines. Open the drain plug at the bottom of the housing and let all water exit into a bucket. This step takes five to ten minutes and prevents spills during disassembly. One practical tip is to place a shop vac hose over the open drain to speed water removal on larger systems.”,”@type”:”HowToStep”,”position”:1},{“name”:”Loosen the band clamp or bolts that secure the motor to the volute. Support the “,”text”:”Loosen the band clamp or bolts that secure the motor to the volute. Support the motor weight with one hand while removing the last fastener. Gently separate the motor and impeller assembly from the wet end. Set the motor on a clean towel so the shaft points upward. Inspect the shaft for scoring that might require further attention later. If you notice any rust or pitting on the shaft, lightly sand it with 400-grit paper before proceeding to prevent the new seal from leaking immediately.”,”@type”:”HowToStep”,”position”:2},{“name”:”Hold the impeller with a strap wrench and turn the lock screw counterclockwise. “,”text”:”Hold the impeller with a strap wrench and turn the lock screw counterclockwise. Slide the impeller off the shaft once the screw is free. Note the position of any spacers or keys so reassembly matches the original layout. Rinse the impeller under clean water to remove sand or leaves that could have caused imbalance. Debris caught on the vanes can reduce flow substantially.”,”@type”:”HowToStep”,”position”:3},{“name”:”Pry out the old ceramic seal with a plastic tool to avoid scratching the housing”,”text”:”Pry out the old ceramic seal with a plastic tool to avoid scratching the housing bore. Clean the seal seat thoroughly with a rag and mild detergent. Apply a thin film of silicone lubricant recommended by the manufacturer to the new seal’s rubber cup. Press the new seal squarely into place until it seats fully against the shoulder. Never use metal tools here because even a tiny scratch can create a path for water to bypass the seal within days.”,”@type”:”HowToStep”,”position”:4},{“name”:”Reinstall the impeller in reverse order and torque the lock screw to the value l”,”text”:”Reinstall the impeller in reverse order and torque the lock screw to the value listed in the service manual. Realign the motor to the volute using the original marks. Tighten the band clamp evenly in a crisscross pattern. Open the isolation valves slowly and check for leaks at the seal area before restoring power. Many technicians recommend running a dry test with valves closed first to confirm everything spins freely without binding.”,”@type”:”HowToStep”,”position”:5},{“name”:”Restore power and run the pump for two minutes while watching the pressure gauge”,”text”:”Restore power and run the pump for two minutes while watching the pressure gauge. Bleed any remaining air from the filter tank. Listen for grinding or rattling that would indicate improper reassembly. Record the new seal installation date on a tag attached to the pump for future reference. Keeping a simple maintenance log on your phone helps track how often seals need replacement and can reveal patterns tied to seasonal debris loads.”,”@type”:”HowToStep”,”position”:6}],”@type”:”HowTo”,”@context”:”https://schema.org”}