Pool Motor Replacement: An Overview
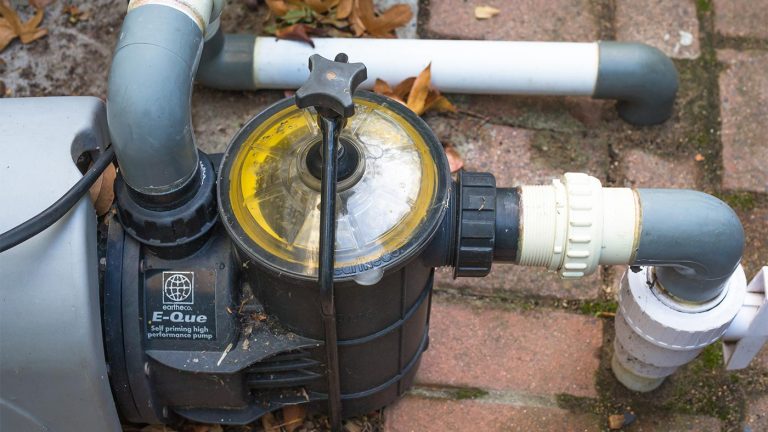
Pool owners often notice reduced water flow. They also hear unusual grinding sounds. Or the motor fails to start on schedule. These signs usually point to trouble inside the pump assembly. The assembly serves an inground pool. When the motor itself shows consistent overheating or electrical faults, many homeowners begin exploring pool motor replacement as the next step. The process involves more than simply swapping one part. Several components interact closely inside the same housing.
For instance, a homeowner in a coastal area might first hear a high-pitched whine. This happens during evening filter cycles. They discover that salt air has accelerated bearing wear inside the motor. In another case, a family with young children notices the pool water turning cloudy after just two days. Circulation dropped below the minimum turnover rate.
Recognizing these early warnings lets you schedule inground pool pump motor replacement before a complete system shutdown. A shutdown ruins a weekend of swimming. Additional red flags include visible rust streaks on the motor casing. Or a sudden spike in your electric bill. Both of which signal that internal friction or electrical resistance is climbing. Homeowners who act on these clues early often avoid the higher costs. These costs come with emergency weekend service calls.
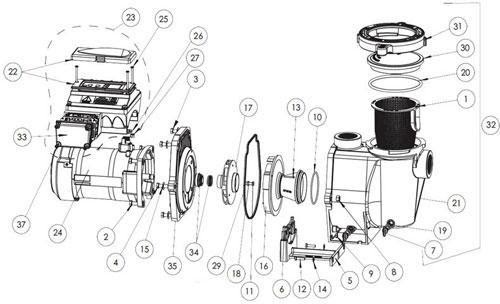
Understanding how the motor, impeller, seals, and capacitors work together helps prevent repeat failures after the swap. A typical residential system moves thousands of gallons per hour. Even small mismatches in size or fit create extra wear. This article explains the parts that commonly fail together. It covers the checks that keep repairs safe. And it covers the decision points between fixing and replacing the entire unit.
Practical experience shows that replacing only the motor while leaving a scored shaft seal in place often leads to water intrusion within weeks. This forces another service call. Likewise, ignoring an eroded impeller during swimming pool pump impeller replacement can overload the new motor windings. It shortens its life by half. Taking time to inspect every interacting part during replacement pool pump motor work saves both money and frustration over the long term.
One service manager noted that nearly forty percent of callback visits stem from overlooked companion parts. These include the diffuser or wear ring. This underscores the value of a thorough inspection each time the pump is opened.
Motor nameplate and pump curve
Motor Sizing Considerations
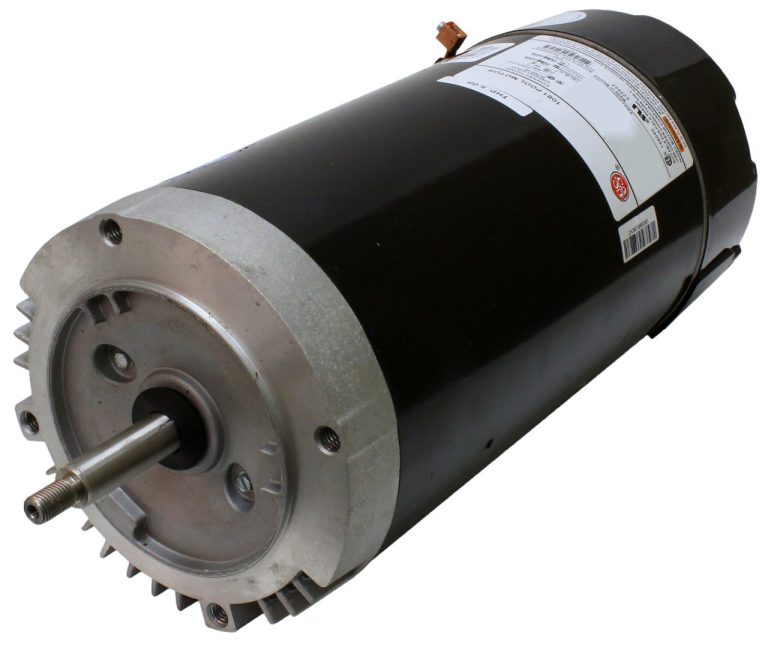
Selecting the correct horsepower rating starts with checking the existing motor nameplate. It also starts with the pump curve supplied by the manufacturer. Undersized motors run continuously and overheat. Oversized units create excess pressure. This stresses the impeller and plumbing joints. In most systems the motor must match both the impeller diameter and the voltage available at the equipment pad. A mismatch here often leads to repeated tripping of the breaker. Or it leads to shortened bearing life.
Before purchase, verify the frame size and shaft length. The new motor bolts directly to the existing seal plate without adapters. Proper sizing also preserves the original flow rate the pool was designed to receive. This keeps filtration and sanitation balanced throughout the season.
Homeowners searching for pool motor replacement near me often discover that local supply houses stock only a few common frame sizes. Confirming the exact model ahead of time avoids multiple trips. One pool owner learned this the hard way when an oversized motor created cavitation. Cavitation cracked the filter tank lid after only three weeks of operation.
Another practical step involves measuring the distance from the motor mounting bolts to the seal plate face. You can confirm compatibility before driving to the store.
Impeller Wear Patterns
The impeller spins inside the volute. It pushes water through the return lines. Over time sand and debris erode the vanes. This reduces efficiency. It forces the motor to draw higher amperage. A worn impeller often shows visible pitting on the leading edges. It shows a measurable drop in pressure at the filter gauge.
During pool motor replacement it makes sense to inspect the impeller at the same time. A damaged one will quickly overload the fresh motor. Replacement usually requires only a strap wrench and a new gasket. Many technicians also replace the shaft seal in the same visit. Keeping the impeller clean through regular backwashing extends its life. It protects the motor bearings from extra load. A closely related walkthrough, Pool Pump Seal Replacement for Better Flow, picks up where this section ends.
A practical tip is to photograph the impeller vanes before removal. You can compare wear against a new unit. Decide whether swimming pool pump impeller replacement is necessary alongside the motor swap. In one neighborhood, three adjacent homes experienced identical impeller failures. A nearby construction project sent fine silt into their pools. This illustrates how environmental factors accelerate damage.
If the vanes feel rough to the touch or the center hub shows scoring, plan on ordering a replacement impeller. Order it at the same time you purchase the new motor. For the adjacent problem, Pool Pump Parts That Fail Most Often, and What to Replace goes deeper into the specifics.
Seal Leakage Causes
The mechanical shaft seal sits between the wet end and the motor. It prevents water from reaching the bearings. When the seal faces wear or the spring weakens, water seeps past. It creates a drip that appears after the pump sits overnight. Heat from the motor can then warp the new seal if the leak is ignored. The follow-up piece How Long Does a Pool Pump Motor Last Facing Seal Leaks? covers this in more practical detail.
During a pool motor replacement the old seal must be removed with a puller tool. The new one seats squarely on the shaft. Using the correct seal kit for the pump model avoids early failure. Early failure is caused by incompatible materials. A small amount of silicone lubricant on the o-ring helps the seal plate slide into position. It slides without pinching.
Technicians recommend checking the seal after any power surge. Electrical issues can cause the motor to seize momentarily. They score the ceramic face. When performing swimming pool pump seal replacement, always keep spare o-rings on hand. The original may tear during removal even if it looks intact.
A helpful habit is to run the pump for five minutes after reassembly. Then shut it off and check immediately for moisture around the shaft. Check before the water evaporates.
Capacitor Checks
Start capacitors give the motor the extra torque needed to overcome inertia at startup. A failing capacitor produces a distinct humming sound without rotation. Or it causes the motor to trip after a few seconds. Technicians test capacitance with a meter. They compare the reading to the value printed on the component. Replacement capacitors must match both microfarad rating and voltage. This avoids damaging the windings.
Because the capacitor sits in a compartment on the motor end bell, it can be swapped without removing the entire pump from the pad. Checking this part early during pool motor replacement often explains why a motor that otherwise looks good refuses to start.
A useful tip is to carry a digital multimeter with capacitance mode when shopping for replacement pool pump motor parts. You can verify the new capacitor on the spot before leaving the store. If the old capacitor feels swollen or leaks oily residue, replace it even if the motor spins freely. A marginal capacitor will shorten the life of the new motor.
Wiring Differences
Many pool motors can be wired for either 115 or 230 volts. This is done by rearranging the jumper positions on the terminal board. Incorrect voltage selection burns out the windings within minutes of startup. Always confirm the supply voltage at the disconnect before reconnecting wires. Use waterproof wire nuts and conduit fittings rated for outdoor exposure. This prevents corrosion at the connections.
During pool motor replacement it is also wise to inspect the ground wire and bonding lug. Code requires a continuous path to the equipment ground. A simple voltage check with a multimeter after wiring prevents costly callbacks. One service technician recalls arriving at a property where the previous owner had reversed the jumpers. This resulted in a melted terminal board. It also resulted in a near-miss electrical hazard. The hazard could have been avoided with a five-minute voltage test.
Color-coded tape placed on each wire before disconnection helps prevent mix-ups when the new motor is installed.
Housing Corrosion Issues
The motor housing and seal plate are usually cast aluminum or composite materials. They resist pool chemicals. Still, constant exposure to moist air and occasional splash from the equipment pad can create pitting around the bolts and cord entry. Severe corrosion makes it difficult to separate the motor from the pump during replacement. It can hide hairline cracks that allow water intrusion later.
Lightly sanding the mating surfaces and applying dielectric grease helps the new motor seat cleanly. If the housing shows deep pitting, replacing the entire wet end along with the motor often proves more economical. It proves more economical than repeated repairs. In humid climates, applying a light coat of corrosion inhibitor spray every spring has been shown to double the service interval. It doubles the interval between inground pool pump motor replacement jobs.
Checking the weep hole at the bottom of the motor for trapped moisture during each spring startup can catch developing corrosion before pool motor replacement.
Tools and Safety Precautions for a Smooth Swap
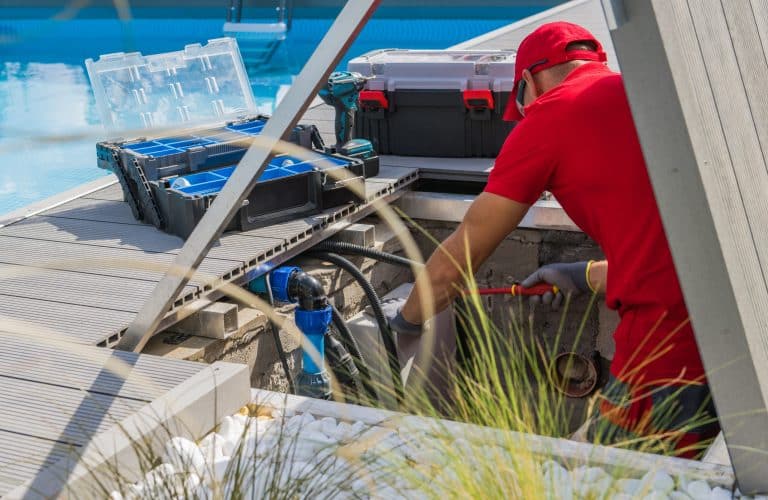
Before beginning any replacement pool pump motor project, gather a strap wrench, seal puller, torque screwdriver, and non-contact voltage tester. Always shut off power at the breaker and lock the disconnect. No one can accidentally energize the circuit while you work. Wearing safety glasses and gloves protects against spring-loaded seal components. These components can fly outward during removal. Keeping a bucket and towels nearby prevents water from the volute from flooding the equipment pad. It prevents creating slip hazards. Labeling each wire with painter’s tape before removal eliminates confusion during reinstallation. Having a helper steady the motor reduces the chance of dropping it onto the concrete pad.
Making the Decision
Before ordering parts, match the model number on the motor and pump to the manufacturer documentation. Every component fits the first time. Verifying shaft diameter, bolt pattern, and voltage prevents delays once the old unit is removed for pool motor replacement. When the impeller, seals, and bearings all show advanced wear, a complete swimming pool pump replacement may cost less. It costs less than multiple individual fixes over the next season.
Local service technicians can confirm these details on site. They handle disposal of the old motor according to environmental rules. Taking the time to compare part numbers and service quotes usually results in a reliable repair. The repair lasts several years. Homeowners who search for pool motor replacement near me often receive same-day quotes. The quotes include both labor and the new motor. This makes it easier to decide between a targeted fix and a full unit swap.
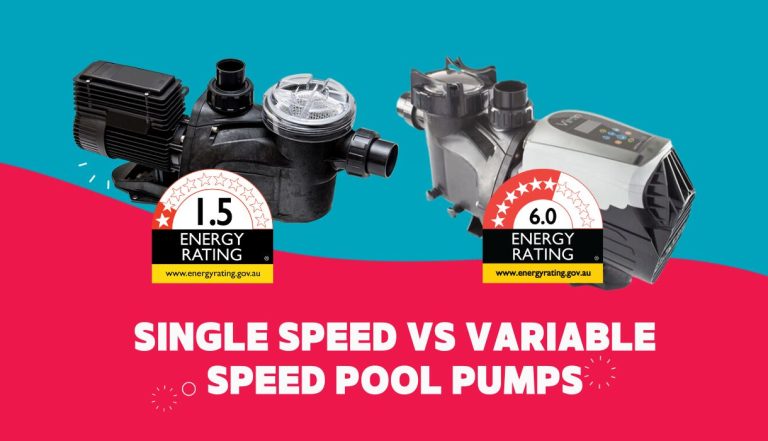
In many cases, choosing a variable-speed replacement pool pump motor upfront reduces monthly energy costs. It reduces costs enough to offset the higher initial price within two seasons. A written comparison of energy savings versus upfront cost helps homeowners make an informed choice. The choice matches their budget and pool usage patterns.
Frequently Asked Questions
How long does a typical inground pool pump motor replacement take for an experienced technician? Most straightforward swaps are completed in two to three hours. Corroded housings or seized impellers can extend the job to half a day. What are the most common mistakes made during swimming pool pump seal replacement? Forgetting to lubricate the o-ring or forcing the seal onto a damaged shaft are the two errors. These errors cause immediate leaks after reassembly.
Can I perform swimming pool pump impeller replacement without replacing the motor at the same time? Yes, provided the motor bearings and windings test within specification. Many technicians recommend inspecting the motor anyway while the wet end is apart. Is it worth upgrading to a variable-speed motor during pool motor replacement near me? In most cases the energy savings and quieter operation justify the upgrade. This is especially true if your utility offers rebates for high-efficiency equipment.
How often should the shaft seal be inspected after a swimming pool pump seal replacement? Technicians suggest checking for drips monthly during the first season. Then check quarterly thereafter. What signs indicate that swimming pool pump impeller replacement is needed even if the motor still runs? A steady drop in filter pressure combined with higher than normal amperage draw usually means the impeller vanes have eroded. They should be replaced promptly.
Related Topics
- Inground Pump Motor Options Compared by Longevity and Cost
- Five Frequent Errors During Inground Pump Motor Changes
- Sequence for Changing a Swimming Pool Pump Motor
- Independent Technicians Compared With National Chains for Pool Pump Work
- Steps to Verify Power Supply Before Scheduling Pool Motor Repair