Pool Pump Motor Troubleshooting: An Overview
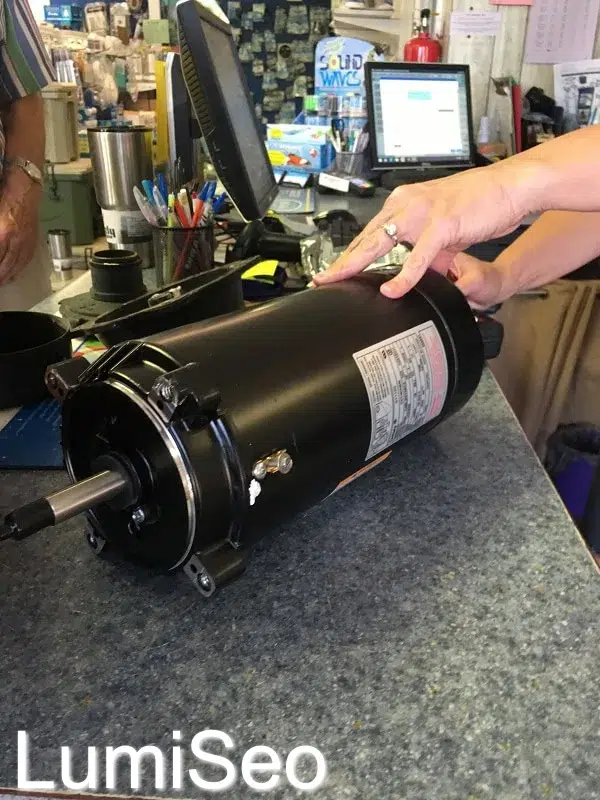
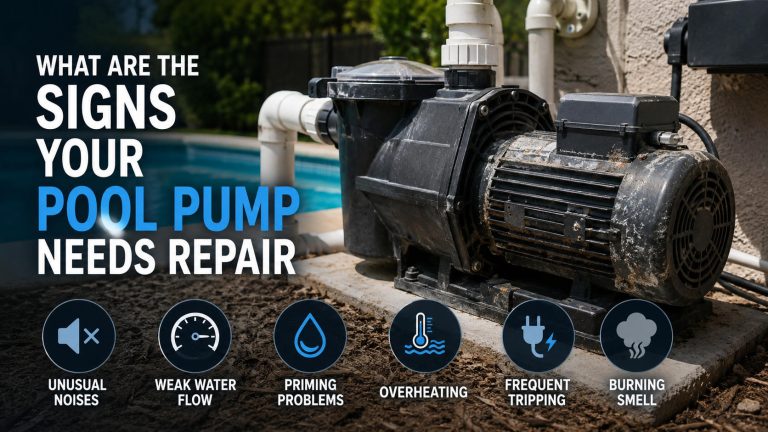
Pool owners across the United States often notice their swimming pool pump acting up during peak summer months when the system runs hardest. A motor that hums but fails to start, strange grinding sounds, or visible moisture around the housing are common signals that something needs attention. Many homeowners search for ways to fix pool pump issues themselves before calling in help, hoping to avoid unnecessary service fees.
This guide walks through safe initial checks that clarify whether a simple adjustment solves the problem or whether professional swimming pool motor repair is required. Understanding these early steps helps you decide when to continue troubleshooting and when to schedule local pool pump repair. The process focuses on basic electrical, mechanical, and visual inspections that do not require special tools beyond a multimeter and basic hand tools most households already own.
For instance, imagine returning from vacation to find your pool water turning green because the pump stopped circulating overnight; knowing how to perform these first checks can save hours of frustration and prevent algae blooms from worsening. Homeowners in humid regions like Florida or Texas often face additional challenges from rapid corrosion, making early detection even more valuable.
Pool pump maintenance near me searches spike right after heavy storms when debris clogs intakes or lightning trips GFCI breakers, and recognizing these patterns allows you to act before minor issues cascade into full motor failure. Another common scenario involves older neighborhoods where voltage fluctuations from shared transformers cause intermittent pump behavior that homeowners initially mistake for motor defects.
Keeping a seasonal log of run times and any unusual sounds helps identify patterns that might otherwise go unnoticed until a complete breakdown occurs.
Why Early Diagnosis Saves Money
Recognizing the first signs of trouble often prevents small problems from turning into expensive replacements. A faint buzzing sound from the motor is a common early warning, and running the capacitor test outlined later in this guide is a practical first step; replacing a capacitor is typically far cheaper than replacing the motor. Early checks also protect water quality because even one day without circulation can allow bacteria levels to rise quickly in warm weather.
Isolate pump power at breaker
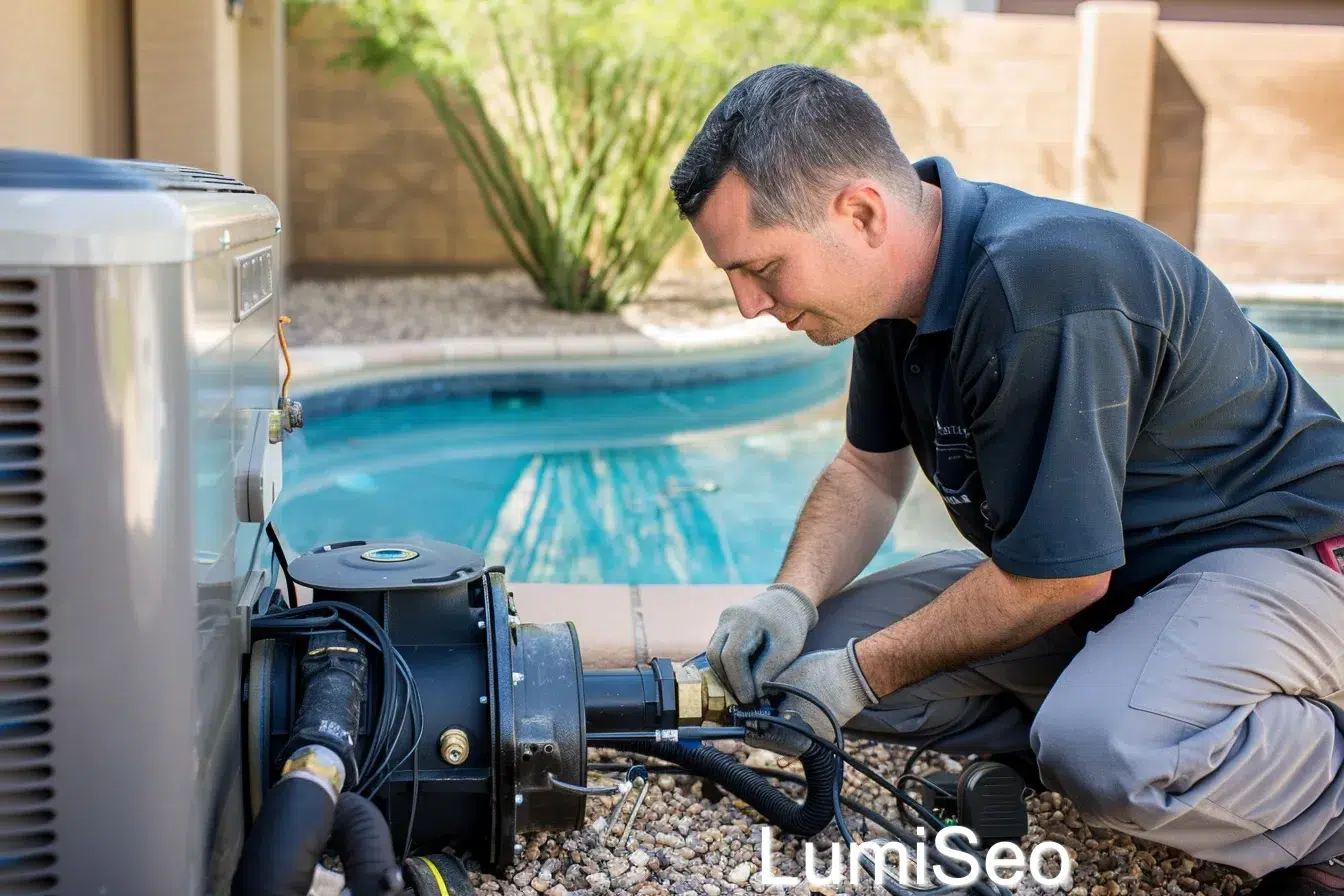
Before you begin any inspection, turn off power at the breaker and confirm the pump is completely isolated from electricity. Work methodically through the following five steps so you gather clear evidence about the motor’s condition. Each step builds on the last and helps narrow down whether the issue is power-related, mechanical, or something that needs swimming pool pump repair from a technician. Many people find it helpful to keep a simple notebook handy during this process, jotting down readings and observations so you can share precise details if you ultimately call for professional assistance. In addition, consider the age of your equipment; motors over eight years old may show cumulative wear that basic tests reveal quickly, guiding your decision on whether replacement parts make sense or a full swap is wiser. Always wear closed-toe shoes and keep children and pets away from the equipment pad while testing is underway.
Preparing Your Tools and Workspace
Before starting, gather a digital multimeter, insulated screwdriver, flashlight, and notepad. Clear leaves and debris from the equipment pad so you have safe footing and good visibility. If the pump sits in a tight enclosure, use a small mirror to inspect the back side without moving the entire unit.
- Verify power supply to the motor by first confirming the breaker is on and checking the GFCI outlet or disconnect switch for a tripped condition. Use a multimeter set to AC voltage to test the terminals at the motor’s connection box and compare the reading against the nameplate voltage, which is usually 115 or 230 volts on residential units. If voltage is absent or low, inspect the wiring for corrosion, loose connections, or damaged conduit that may have occurred from weather exposure or lawn equipment. Many motors fail to start simply because of an upstream power issue rather than an internal defect, so ruling this out first prevents unnecessary disassembly. Document the voltage reading and any visible wire damage before moving forward. Practical tip: always test voltage at multiple points along the line, including the service panel, to isolate whether the problem originates inside your home or at the utility connection. A corroded outdoor outlet can be the culprit behind intermittent starts, especially when the failures follow weather patterns. A loose neutral wire inside the main panel can also produce low-voltage readings, and vibration from high winds is one way such a connection can work loose.
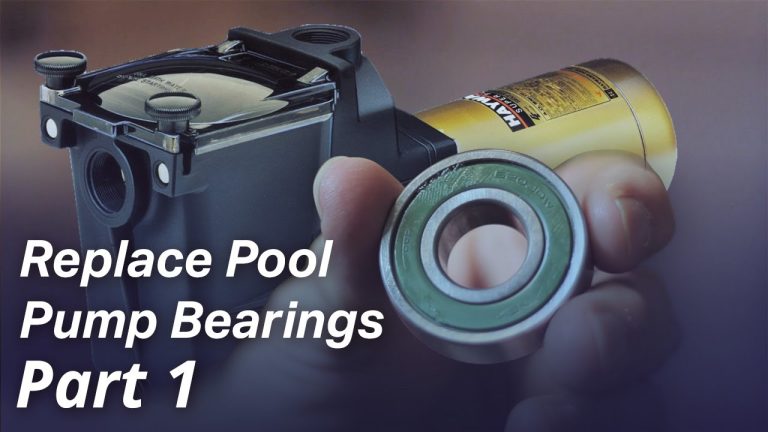
- Listen for unusual noises during startup after restoring power briefly and standing at a safe distance from the equipment pad. A healthy motor produces a steady hum that quickly transitions into smooth operation, while a failing unit may emit a loud click, grinding, or high-pitched whine that indicates bearing wear or a seized shaft. Record the exact sound and note whether it happens immediately or after several seconds of attempting to start. This auditory clue often points to mechanical problems inside the motor that cannot be fixed with basic maintenance and will eventually require swimming pool motor repair or full replacement. Avoid running the pump for more than a few seconds during this test to prevent further damage. A high-pitched whine is commonly associated with failing bearings, so comparing the sound to reference recordings online can help owners recognize it early and order parts before the motor seizes completely, which is especially useful to know before a busy holiday weekend. Some owners also use a mechanic’s stethoscope pressed lightly against the motor housing to pinpoint exactly where the noise originates.
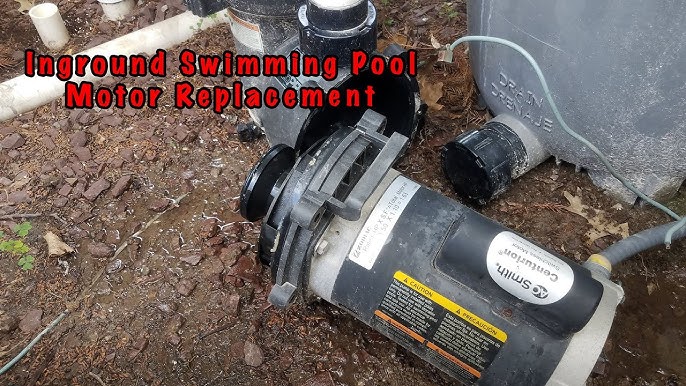
- Inspect for water leaks around the seal by shutting power off again and examining the area where the motor meets the wet end of the pump. Look for moisture trails, rust stains, or standing water beneath the unit, all of which suggest the mechanical seal has failed and allowed water to reach the motor bearings. A leaking seal not only destroys the motor over time but can also create electrical hazards if water reaches the windings. Note the location and amount of any moisture so you can describe the symptom accurately when speaking with a repair technician later. Replacing the seal is sometimes possible without replacing the entire motor, but only if caught early. Consider adding a small drip pan under the pump during summer months as an early warning system; several pool owners report catching seal failures within days rather than weeks using this simple method. If you notice oily residue mixed with water, the bearings may already be compromised and replacement timing becomes more urgent.
- Check impeller movement by removing the pump lid and attempting to spin the impeller by hand once power is confirmed off. The impeller should turn freely with light resistance; stiffness or complete seizure usually means debris has jammed the vanes or the shaft has corroded. Clear any visible leaves or pebbles, then try turning the shaft again. If it still will not rotate, the problem lies deeper and attempting to force movement can break internal components. This quick check helps decide whether a simple cleaning might restore function or whether professional intervention is necessary to fix pool pump problems. A small pebble lodged after a windstorm is a common cause of this kind of jam; clearing it typically restores full function without any parts cost, and installing a finer mesh strainer basket is a sensible routine pool pump maintenance practice. Owners with variable-speed pumps should also verify that the impeller spins in the correct direction after reassembly.
- Test capacitor function using a multimeter with capacitance mode after discharging the capacitor safely with an insulated screwdriver across the terminals. Compare the measured microfarad value to the rating printed on the capacitor body; a reading more than 10 percent below spec indicates the capacitor is failing and preventing the motor from starting. Capacitors are inexpensive and easy to swap, yet many homeowners overlook them and call for service unnecessarily. Always match the replacement exactly in voltage and capacitance rating, and install it with the correct orientation if polarity markings are present. Keep spare capacitors rated for your specific motor on hand during hurricane season, as many service trucks run low on stock after widespread power outages. If your motor uses both a start and run capacitor, test each one individually and label the wires before removal to avoid confusion during reinstallation.
Common Mistakes
One frequent error is assuming every non-starting motor requires immediate replacement. Many times the issue is a tripped GFCI or a weak capacitor that costs under thirty dollars to replace. Another mistake involves running the pump repeatedly while troubleshooting, which can overheat windings and turn a minor problem into a total motor failure. Homeowners also sometimes ignore small leaks around the seal until water reaches the windings, making repair far more expensive. The follow-up piece Initial Checks for a Non-Working Swimming Pool Pump covers this in more practical detail.
Finally, skipping the voltage test at the motor terminals leads people to replace parts that were never faulty in the first place. Taking time to verify each possibility in order avoids these costly missteps. Adding a layer of caution, never attempt to bypass safety switches or GFCI devices even temporarily; one Arizona family learned this the hard way when a bypassed breaker caused a minor shock during a rainstorm. For the adjacent problem, Company Versus Solo Options for Swimming Pool Motor Repair goes deeper into the specifics.
Seasonal checks every spring and fall also help catch early wear before peak usage begins. Another overlooked error occurs when homeowners spray water directly on the motor during cleaning; moisture can enter the terminal box and cause corrosion that mimics capacitor failure on the next startup.
Deciding DIY vs professional repair
After completing the basic checks, you will have enough information to decide whether the motor can be restored with simple parts or whether it needs professional swimming pool pump repair. If the problem persists after verifying power, checking noises, inspecting seals, testing impeller movement, and evaluating the capacitor, contact a local technician who can perform deeper diagnostics safely. Attempting further disassembly without proper training risks voiding warranties and creating electrical hazards.
The goal is to fix pool pump issues efficiently while protecting both your equipment and your safety. When deciding between DIY fixes and calling for help, weigh the cost of parts against your comfort level with electrical work; many communities maintain lists of certified technicians who specialize in fix my pool pump calls and offer same-day service during summer heat waves.
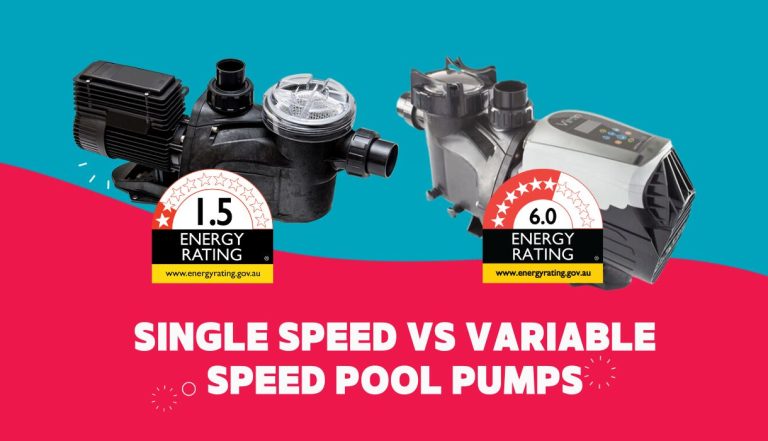
Documenting every test result also speeds up any service visit and often reduces diagnostic fees. In addition, consider the long-term value of upgrading to an energy-efficient motor during any repair visit, especially if your current unit is more than seven years old and your utility company offers rebates.
Frequently Asked Questions
How long does a typical pool pump motor last before replacement becomes necessary?
Most residential pool pump motors operate reliably for eight to twelve years when properly maintained and protected from weather. Factors such as daily run time, water chemistry, and seal condition affect lifespan significantly. Motors in coastal areas often fail sooner due to salt corrosion. Regular inspection of the capacitor and seal can extend service life by several years. When a motor reaches the ten-year mark, many owners begin budgeting for replacement even if it still runs. Coastal residents often schedule annual seal inspections to combat salt spray, while inland owners focus more on keeping the equipment pad shaded to reduce heat stress.
Can I replace just the capacitor myself without voiding any warranty?
Replacing the start or run capacitor is considered routine maintenance on most pool pumps and does not void the motor warranty when performed correctly. Use an exact match for microfarad rating and voltage, and ensure all connections are tight and insulated. Keep the original capacitor as proof of the failure mode if warranty service is ever needed later. Always disconnect power before opening the terminal cover. Many manufacturers provide detailed diagrams in the owner manual showing exact wiring orientation to avoid common reversal errors.
What safety equipment should I wear when inspecting the pump motor?
Wear safety glasses to protect against debris and insulated gloves rated for electrical work. Use a non-contact voltage tester before touching any terminals. Work on a dry surface and keep water away from the equipment pad during testing. Never bypass the GFCI protection even temporarily, as this creates shock risk. If you feel unsure at any point, stop and call a professional. A headlamp or portable work light also proves useful for evening inspections when most homeowners have time to troubleshoot.
Is it normal for a motor to feel warm after running for several hours?
A motor that reaches 140 to 160 degrees Fahrenheit on the surface is operating within normal range under heavy load. Excessive heat that causes the thermal overload to trip repeatedly signals a problem such as low voltage, failing bearings, or a clogged impeller. Monitor temperature with an infrared thermometer if available. Persistent overheating requires further diagnosis to avoid permanent winding damage. Installing a simple shade structure over the equipment pad can lower surface temperatures by ten to fifteen degrees during peak afternoon heat.
Should I replace the entire pump or just the motor when the impeller is seized?
If the wet end housing and impeller show minimal wear, replacing only the motor is often the more economical choice. Compare the cost of a new motor against a complete pump assembly, factoring in labor if you hire help. In cases where the seal plate or diffuser is also damaged, a full pump replacement may prove cheaper long term. A technician can assess both options during an on-site visit. Some owners choose upgraded energy-efficient motors during replacement to lower monthly electric bills noticeably.
How often should I schedule professional pool pump maintenance near me?
Most experts recommend a professional inspection at least once per year, ideally before the busy summer season begins. Technicians can perform deeper electrical tests, check alignment, and verify that all safety devices function correctly. Annual service often catches small issues like worn seals or loose wiring before they cause complete failure. Homeowners who run their pumps continuously for water features may benefit from twice-yearly visits.
What signs indicate I need swimming pool motor repair instead of another DIY attempt?
Burning smells, visible sparks, or repeated breaker trips after capacitor replacement usually mean internal winding damage that requires professional repair. Motors that have been submerged or exposed to flooding should also be evaluated by a technician rather than restarted. Persistent vibration after impeller cleaning often points to bent shafts or worn bearings best addressed with specialized tools. In these situations, attempting further fixes can create safety hazards or void remaining warranty coverage.
Can a failing pool pump cause my electric bill to spike unexpectedly?
Yes, a motor struggling with bad bearings or a weak capacitor often draws higher amperage while attempting to start or run, which shows up as increased kilowatt-hour usage. Homeowners who track monthly bills sometimes notice a sudden twenty to thirty percent rise before the motor finally stops working. Checking run-time wattage with a plug-in power meter during troubleshooting can confirm whether the motor is operating inefficiently.
Is it safe to run the pump with the lid off briefly for inspection?
Running the pump without the lid for more than a few seconds is not recommended because the system can lose prime and pull air into the lines, stressing the motor further. If you need to observe impeller movement, do so only with the power off and the shaft turned by hand. Always replace the lid and tighten the clamp ring before restoring power for any operational test.
About this guide: This article focuses on helping U.S. pool owners perform safe initial diagnostics on their equipment before arranging professional service.
For additional technical background on electric motors used in pool applications, refer to the induction motor entry on Wikipedia, which explains common failure modes relevant to residential pumps.
- Five Indicators That Your Swimming Pool Pump Requires Immediate Service
- Replacing Pool Pumps and Motors for Residential Inground Systems
- Five Signs Your Swimming Pool Needs a New Pump Motor This Season
- Inground Pool Pump Motors from Hayward Versus Pentair: Which Lasts Longer